I have a couple of kids with on-and-off sleep issues, so I’ve been paying attention to the swell of discussion about the benefits of weighted blankets for children. These blankets, which are generally filled with anywhere from 5–10 lbs. of weighted beads, are said to help increase both serotonin (which improves your mood) and melatonin (which makes you sleepy).
Basically, your kids feel like they’re being held, which of course makes them happy. And sleepy. Yay!
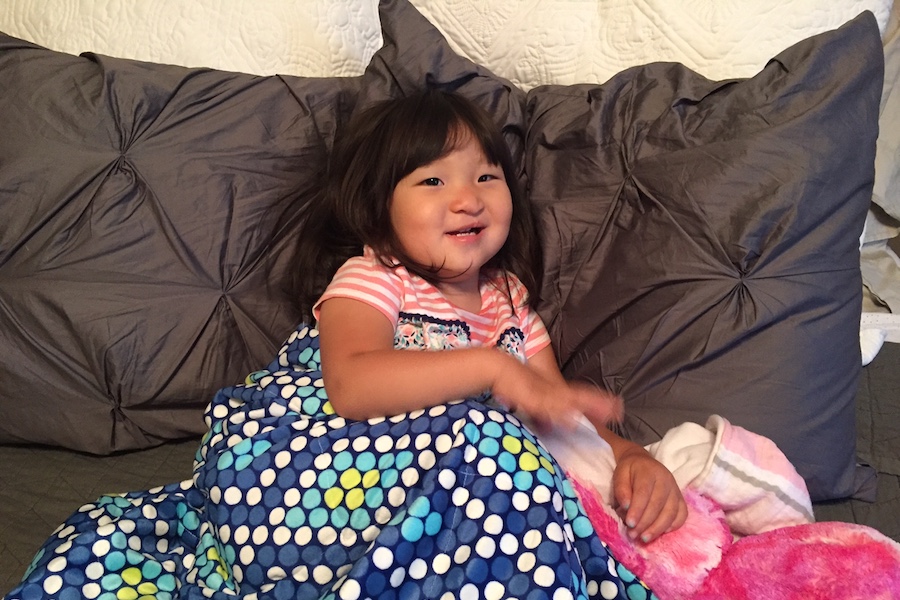
We recently received a sample weighted blanket from The Magic Blanket for my kids to try out, and after using it for a week or so their bedtime routines were much less stressful. They’re awesome — but oof, not cheap. In fact, on average, kid-sized weighted blankets run about $140 a piece. With four kids, that would putting a serious dent in my summer fun budget.
So, I set out to DIY my own for each kid…for a small fraction of the cost. And came to realize, they aren’t really that hard to make. Now, this isn’t crafting 101, but it’s not advanced tailoring either. If you know how to sew a straight line, you can definitely do this. Promise.
CMP is an rstyle affiliate
Related: Sleep anxiety in kids: 5 solutions for big kid sleep issues that really work
What you’ll need
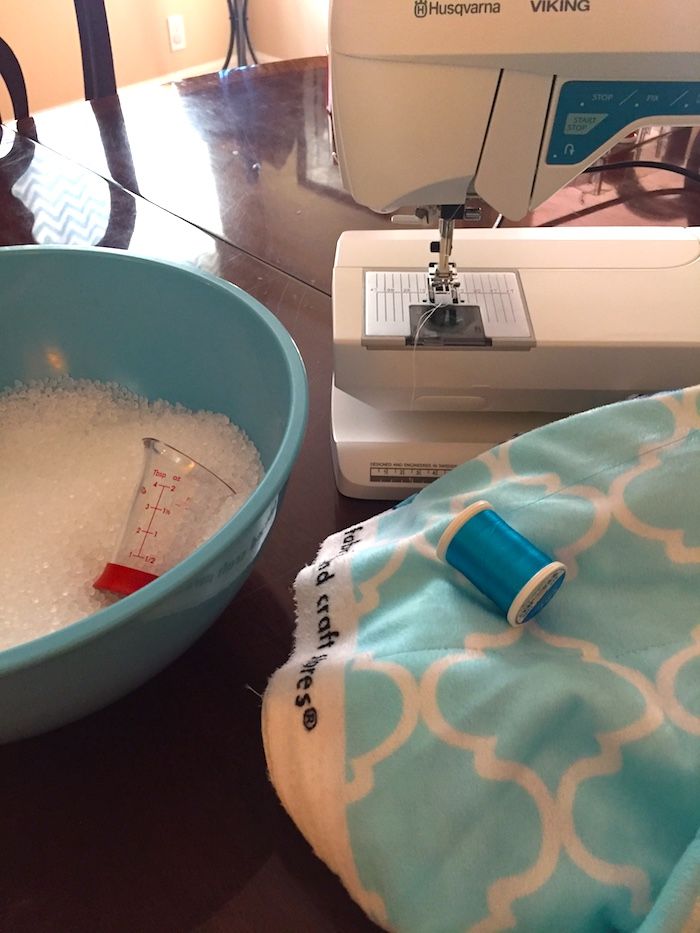
Of course, in order to pull this off, you’ll need a basic sewing machine (like this one) and have some understanding of how to use it. If you are stuck trying to figure out how to thread your machine or wind the bobbin, check your user’s manual. If you aren’t sure what those things mean, this may not be the craft for you.
Other materials:
– Fabric, of course. I purchased 1.5 yards of 60-inch wide fabric for each side of the blanket, or 3 yards total. UPDATE: There is no one-size fits all blanket. The size, and weight, of your blanket should be the right fit for your child. This size happens to be perfect for my almost 10-year-old.
(Minky fabric is a really popular option because it’s so soft, and if you choose a geometric pattern it will help you out, which I will explain later on. It’s typically around $14.99 a yard. I bought mine at a JoAnn craft store with a 50% off coupon, which they seem to offer constantly, and it saved me a ton of money.)
– 1 spool of all-purpose thread in the same color as the background of your fabric
– A washable sewing marker to mark up the fabric and help guide you while sewing (straight pins work too)
– 5–10 lbs. bag (variable) of weighted beads for the filling. UPDATE: Please note we edited this to highlight that the amount of weighted beads you’ll need will vary from child to child because the weight of the blanket and amount of weighted beads used must be adjusted for the weight of the child. Obviously, the smaller the child, the lighter in weight the blanket should be. You can look up general guidelines for determining the right weight, and size, for your child.
Step-by-step guide to making the blanket
The big picture: Sew a blanket, leaving it open at the top. Next, sew channels along the length of the blanket to fill with weighted beads. Finally, sew rows across the blanket horizontally — as you fill it with the beads — to seal off pockets that will evenly spread the weight across the blanket.
Now, the nitty gritty.
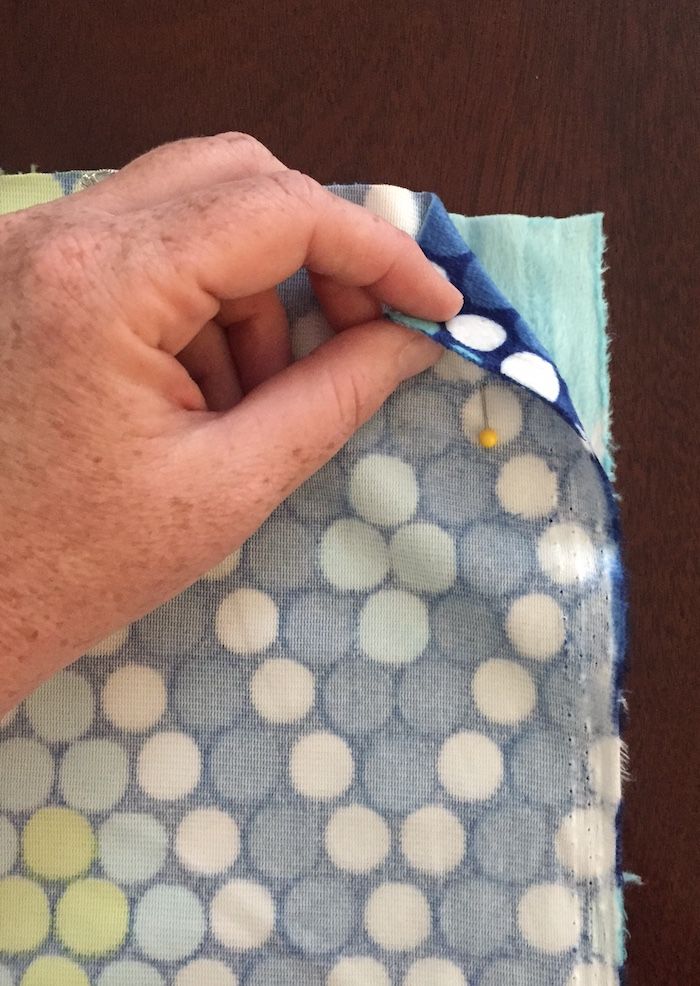
1. Sew two pieces of fabric together in a U shape, leaving the top edge open.
Lay your two pieces of fabric on top of each other, with the decorative sides of the fabric facing each other. Sew a basic seam around the side, bottom, and other side of the fabric, leaving the top edge open. It should be like a huge pocket when you’re done.
Flip the blanket inside out, so that the decorative sides of the fabric are now showing on the outside.
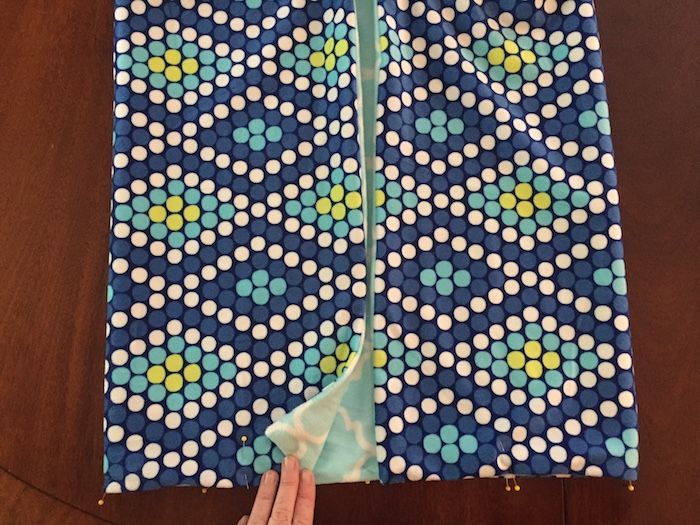
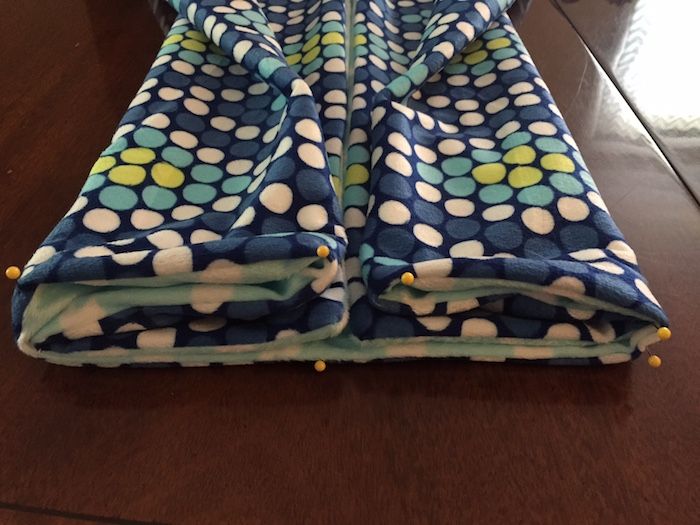
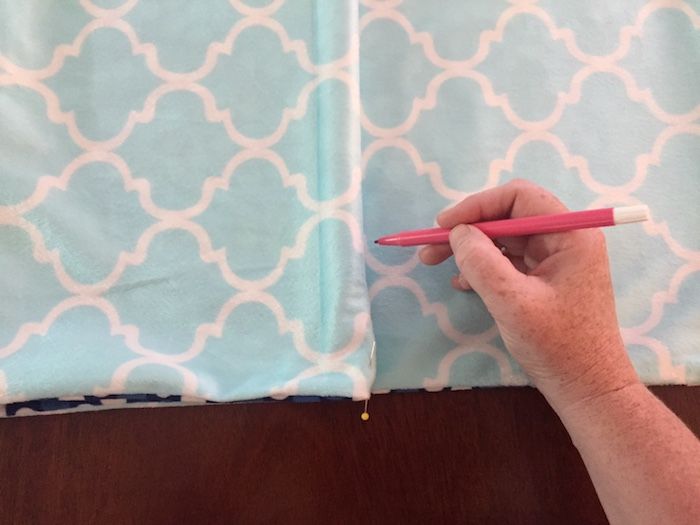
2. Mark 8 vertical channels to fill with beads.
With the fabric marker (or straight pins), mark lines for sewing eight channels that will run the length of the fabric. You have two options: measure the width of the fabric and divide by eight, then measure and mark across the width of the fabric. Or, use the folding method.
To fold, lay the blanket flat and fold in half along the long edge. Mark the fold (the center point of the blanket). Then fold in half again (quarters) and again (eighths), marking the fold creases each time. Unfold the blanket, and you’ll see eight evenly spaced marks for sewing.
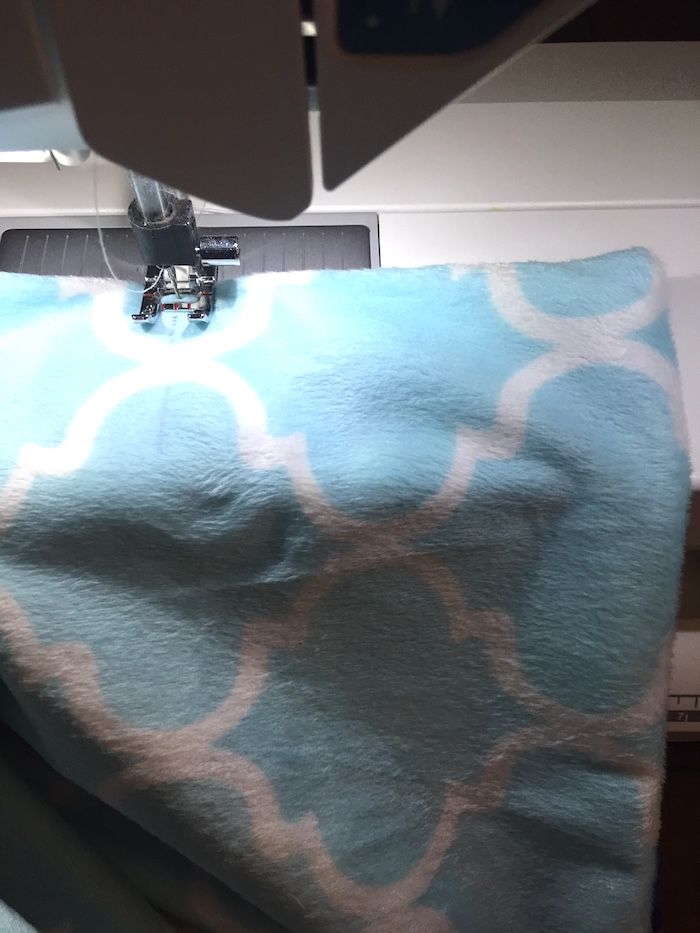
3. Sew the channels.
Starting at the bottom (finished) edge of the blanket, sew the vertical lines along the length of the blanket that you marked in step 2, giving you eight vertical channels.
Pro tip: If you choose fabric like mine that has a repeating geometric pattern, it’s much easier to sew straight lines because you can use the design to help guide you.
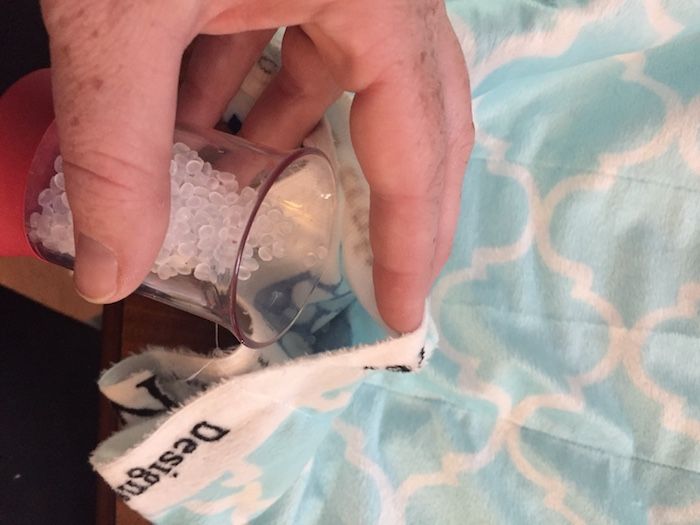
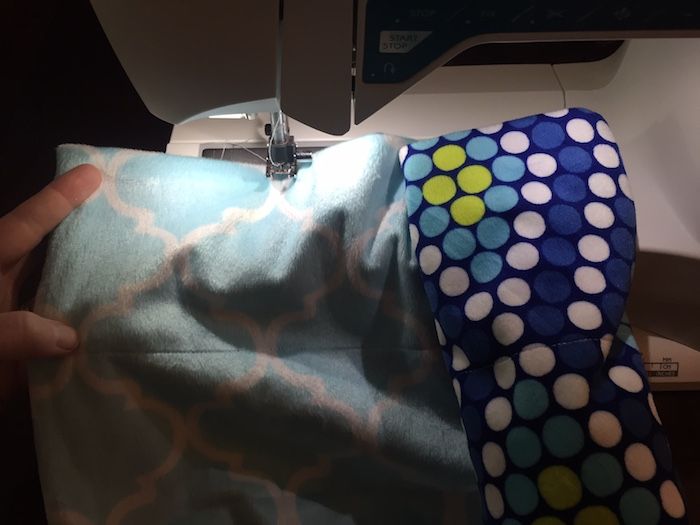
4. Fill each channel with beads, and sew.
Pro tip: If you used a fabric marker in step 3, wash the blanket before filling with beads to remove the ink. I don’t know if you’d be able to remove fabric marker after completion. I haven’t tried washing my finished blanket yet, but I’d recommend sticking to spot cleaning so that you don’t end up with a washing machine full of weighted beads if a seam busts.
Use a small measuring cup (about 1/8 cup), and add one scoop of beads to each of the channels. (This is much less messy if you put the beads in a bowl first.) Shake well, so they fall to the very bottom of the blanket.
Then, roll the top of the blanket down so that the beads don’t fall out, and sew a horizontal line across the width of the blanket creating a row of pockets (or squares) that seal in the beads.
I tried to space my horizontal lines about the same distance apart as my channels were wide, so that the pockets would be square. So if your channels (vertical seams) are 5 inches wide, then sew the horizontal lines every 5 inches also. This is another place where that geometric pattern on the fabric is helpful in keeping lines straight, so you can choose where to sew based on that too.
5. Repeat step 4 until the entire blanket is filled.
Now, repeat step 4 until you reach the top of the blanket, sealing off the last group of pockets and leaving about 2 inches of raw edge at the top.
Pro tip: Be careful that the outer edges of your blanket are sewn very securely so that no beads can escape, as they could pose a choking hazard.
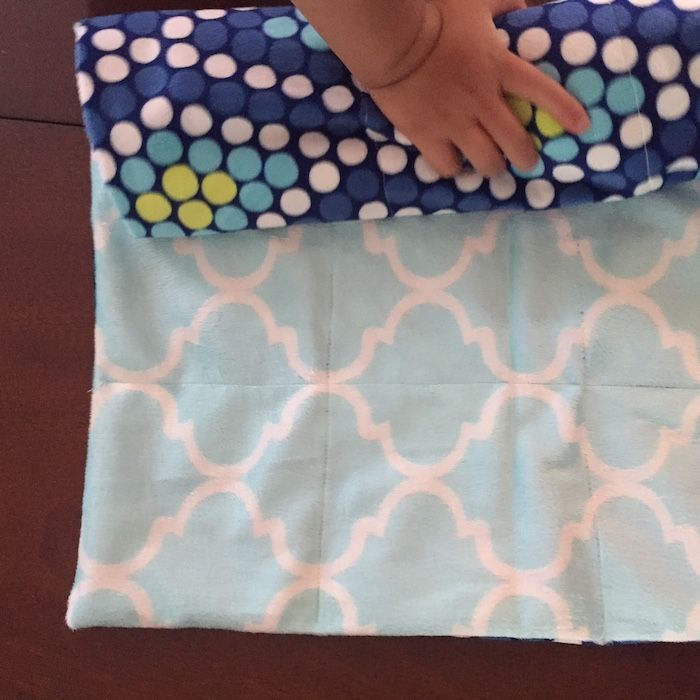
6. Close the top of the blanket.
Fold the raw edges at the top in toward each other, and stitch one final horizontal seam across the top of the blanket, giving the top edge a finished look.
You’re done!
And you’ve got an extra $100 or so in your pocket to spend on something much more fun, like a new pair of summer sandals. Which you’ve totally earned, by the way.
LAST UPDATED 06/30/17: Please note: While weighted blankets are popular and may be suitable for most ages, from older toddlers/preschoolers to grown ups (my 3-year-old sleeps soundly with hers!), there are some experts who do not recommend them for young children unless under the direction of a therapist. And, of course, weighted blankets are not suitable for babies. If you choose to use a weighted blanket with your child, please make sure the size and weight of the blanket is right for your child. (We made some updates to this post thanks to a Facebook fan’s suggestion of adjusting the weight of the beads based on the weight of the child. Thanks, Lisa, for the smart tip!)
All images © Kate Etue for Cool Mom Picks



Where do you buy the glass beads at a reasonable price in Canada?
I found 25lbs of pellets for $27 + $18.75 for shipping, to Memphis, TN. There may be a Canadian source on Etsy.
I found the beads at Michael’s and apparently Len’s Mills carry them too
I made a weighted blanket for my daughter’s CASA child. I bought my poly beads online from Amazon.
Just when I needed it. Thanks
My son (age 50, 250 lbs) could possibly profit from this. Does anyone have any experience with the blankets for adults?
Yes, you just need to make it larger and buy more beads. You can measure a blanket you currently have that you like the size of and go off of that for the fabric!
I am making a reversible queen size blanket for my brother-in-law, 26 yrs old, 225-250 lbs. It’s roughly 90″x108″ and will be 25 lbs (all material included). We are using a heavier duck fabric since it needs to hold more weighted pellets than a ‘standard’ blanket would for smaller people. Double stitches on all seams, especially the outside edges. We chose to sew 3 of the side seams with the batting inside out to start, then flipped the blanket right side out and sewed a double seam down each edge. After that, we sewed our channels and will be placing individual bean bags inside, overlapping the edges so our seams will catch them when we sew the rows to close that section. While time consuming, I’m loving the results thus far. I am going to suggest to him that he purchase a duvet cover for this blanket so that he doesn’t have to wash the blanket itself, should something happen. I’m not sure his washing machine would hold up to the weight of it all, so the duvet cover just makes sense.
Have you used any type of lining to help prevent beads from escaping if the blanket gets torn?
Kathy, interesting question! I didn’t use any lining on ours. And, yes, some beads have escaped. Quilting it into the smaller squares will help reduce that problem though. You could make individual “bean bags” of the beads, and drop those down into the squares as you sew. But that would take you a lot longer! I wonder how it would work to zip them into plastic snack bags and drop them in? Let us know if you experiment with this!
I made a weighted blanket using a twin sheet folded in half. The thread count on sheets is a lot higher in sheets that most cottons in the fabric stores. Then I made a cover for it, like a duvet cover. I put heavy duty snaps inside the cover corners and the weighted sheet blanket in the corners to match. It worked great.
I love the sheet idea! It would then be possible to wash the cover. Thank you!
I have heard minky isnt a good fabric as it stretches so much. Any thoughts? Did it seem to work ok and hold up as it was used?
Jess, I used minky on one of my kids’ blankets, and it wasn’t too bad. It didn’t have too much spandex in it. I’m not sure if all minky is the same, though. If you feel it stretch a lot on the bolt in the store, then it is going to be harder to work with.
Could you use rice in place of the beads?i would think it would be the same but not sure if there is any reason why you couldn’t or shouldn’t.
Terri, I think you could, as long as you’re sure it won’t ever get wet! 🙂
I would not use rice because of bugs or mice (our cabin). Also allergies as most rice has “dust” on it. Blanket would not be washable.
Thanks much.
Are these washable?
Have you ever used glass beads instead of poly beads? Any preference, aside from cost? Thanks!
I haven’t! Since my goal was to make it cheaper, I went with the poly. Let us know how it goes if you use the glass!
I’m sewing one right now (50×70 – 16 lbs for me), but I’m finding now that I’m sewing horizontally across, the fabric – and weight – is really difficult to feed through the machine on the right side. I guess I should not have sewed all three sides first and should have left top and bottom open. Too late now. I’m so frustrated because I’m still a beginner and my lines are not looking great now. 🙁 I hope I’m able to finish it otherwise I wasted $100.
Sorry just needed to vent! lol
But thank you for the tutorial! Great post! 🙂
Oh no! I’m trying to understand what you’re describing. When I made mine, I sewed all three sides leaving only the top open. Then I sewed the channels along the length of the blanket. Finally, I filled each channel with a small amount of the beads, sewed horizontally across them to seal them shut, filled a little bit more, sewed to seal that row shut, and on and on. To help me keep the blanket manageable as I go, I roll it (because it is a lot of weight!). I hope that helps! If your roll is too big to go through the space between the needle and the body of the machine, just switch directions and sew so that the roll is on the outside of the machine.
Thank you, yes I think that is what I’ll need to do. I just finished closing row 3 and it is so crowded in the space between need/arm, that my lines are going on a diagonal! I think it’s just because I don’t know how to sew very well, and finding it hard to manage. I should have practiced on a smaller one first maybe! lol… but I’m going to push through! I keep telling myself it doesn’t matter if it’s not perfect! – It’s just hard when I spent so much on pellets! 🙂
Thanks for listening and commenting! I pinned your post for my next future blanket for my daughter!
Jennifer P., I want to encourage you to continue and finish your blanket. It will be on your bed and will still give you HUGS no matter if your seams are straight or not. You’re not going to auction this blanket, it’s for you. Please relax and enjoy your HUGS!!!
I wonder if it would be a bit easier to leave both sides open, and start with sewing a horizontal seam toward the middle and work you way to one side and then the other.
Hmmm, I don’t think so, as the beads would fall out the side if they weren’t sewn closed. But maybe you’re picturing it differently than I am. 🙂 Good luck!
Yes! Sometimes I think the imperfections are what make these handmade items so sweet. I agree with Pamela, keep on!
I just helped my sister make a weighted blanket for her adult daughter. We rolled up a long tube of heavy paper, slipped it into one of the vertical channels, dumped 1.5 ounces of pellets into the rolled up tube, then pulled the tube out, put it in the next channel, and repeated to the end of the row. Then I helped by keeping the weight of the blanket out of my sister’s way while she stitched across horizontally. Row by row, it was so much easier with an extra set of hands and by using the tube, we didn’t have to shake the blanket after each pellet addition.
Great idea! I’m about to try my first blanket, and so I think I’ll rig a couple of empty wrapping paper tubes together so they reach almost the length of the blanket!
Hello. Wanting to make one for my nephew. My sister wants to use natural stuffing. Anyone ever use flax seeds or rice? It would have a removable cover, for washing.
Thanks
Hi, You can try Bombax ceiba or red silk-cotton or Sumbal Cotton. It has seeds and is used for pillows filling. No idea if any one selling Sumbal seeds or sumbal cotton with extra seeds for additional weight. As it is used for pillow filling for centuries so I would assume it to be generally safe but one need to check about allergies. It is natural but if used in areas where it does not grow then their is risk of allergies [ there is no immunity ] as with all natural produce.