Let me first be totally upfront: The idea of setting a holiday table kind of terrifies me. I am not someone who can just effortlessly whip up an Elsa’s castle centerpiece made of handmade gingerbread, or pick up a calligraphy pen and go to town on place cards. I don’t even own fancy china or “holiday” dinnerware because we tend to have holiday dinners elsewhere.
I quietly envy the spectacular holiday table settings and place card ideas on Pinterest, and repin them, but in my head I’m thinking, yeah, right.
In other words, I’m not living the glorious home decor blogger dream. I’m just a regular mom with some cool stuff and some not-so-cool stuff, trying to make it all work within a budget.
So when I had the chance to put together a holiday table for my family on behalf of our newest sponsor, IKEA, I was totally intimidated…and yet, totally psyched.
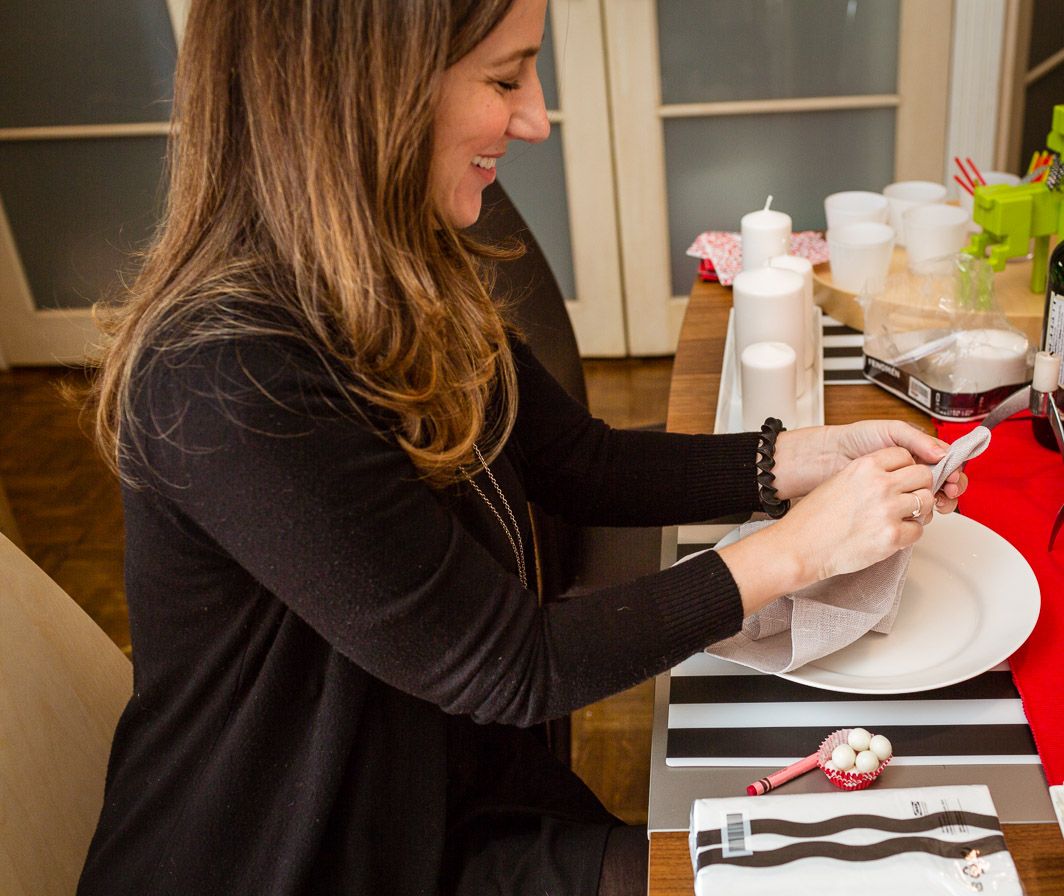
I grabbed my stepmother Amye, who happens to be an amazing stylist and professional organizer–like a doctor, it’s great having one in the family–and we hit the Red Hook IKEA in Brooklyn for affordable inspiration.
We probably would have moved in if the smell of those cinnamon buns at checkout weren’t calling to us. Also, because I made the run for you, I can help you out with recommendations for stuff that really looks amazing in person.
Through the process of trial and error, we discovered some awesome tips for creating actual, doable holiday table settings that will hopefully help you too.
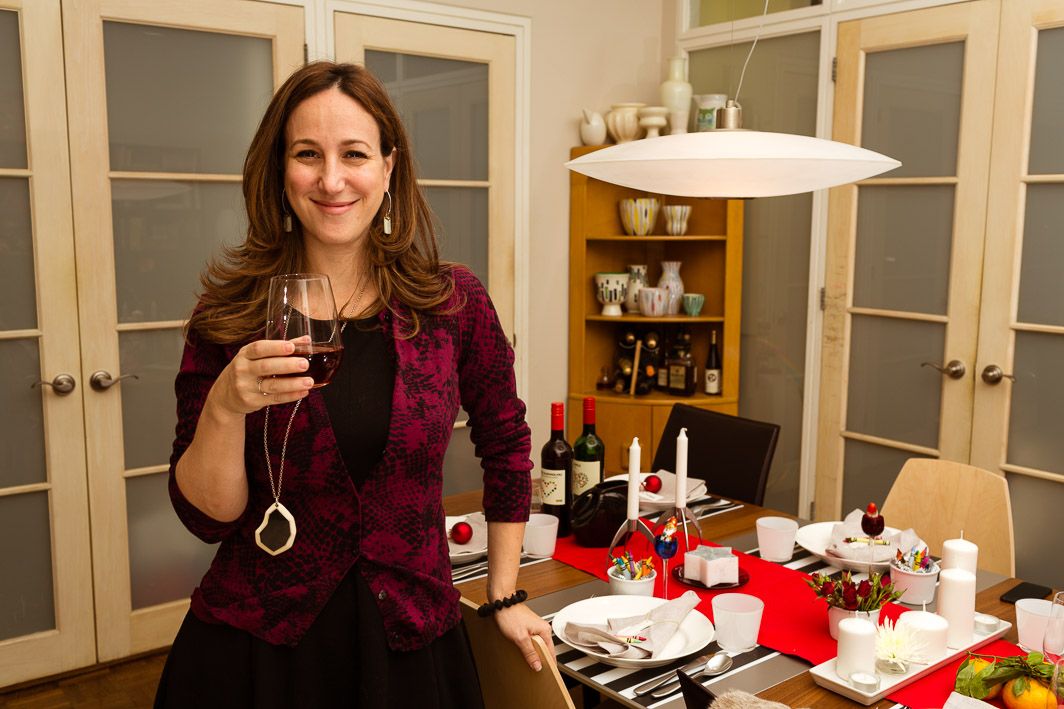
Working backwards, here’s where I ended up. I was so happy with it!

Now, I’ll back up and let you know how I got here.
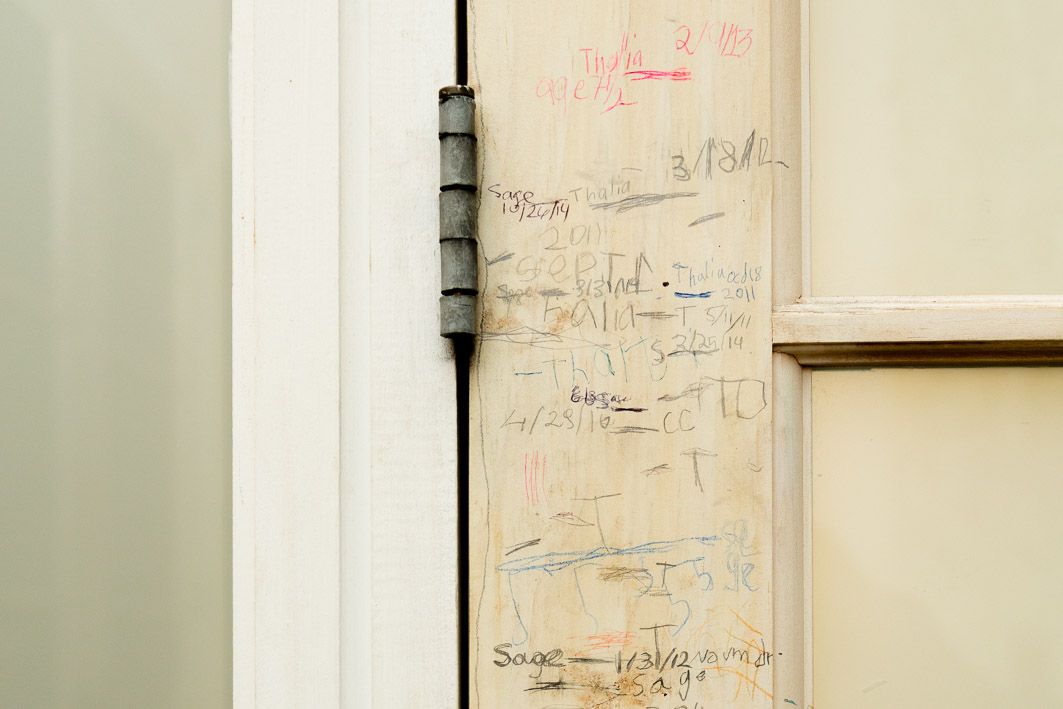
Oh, and for more context? If you look closely at the doors behind the dining table–that’s not dirt. It’s the down and dirty height chart outside my girls’ room that’s actually in our dining area. Clearly we’re very fancy around here.
Maybe you can relate.
Setting a Holiday Table: Start with what you’ve got. Then add.
I only own white dishes because I think food just looks best on them. As pretty as colored dishes are on their own, the white lets your food be the star of the plate when you’re actually serving. So I started with what I owned and tried to create a look from there. You do not have to buy all new stuff for a holiday table (you know, the reindeer dishes, Santa glasses, holly candles), tempting though it may be.
Know your taste
Don’t worry about what anyone else is doing. I am so charmed by country place settings in pictures, and yet my own taste leans heavily toward mid-century modern. (WWJAD: What would Jonathan Adler do?)
Dig out your stuff!
It helps to take out everything you might use and lay it all out in one place–old trick picked up from years of working on commercial shoots. The idea is that, if you buy every single thing new, it begins to look like a catalog page. Bring your personality in! Look at your stuff!
Shop new stuff based on your old stuff.
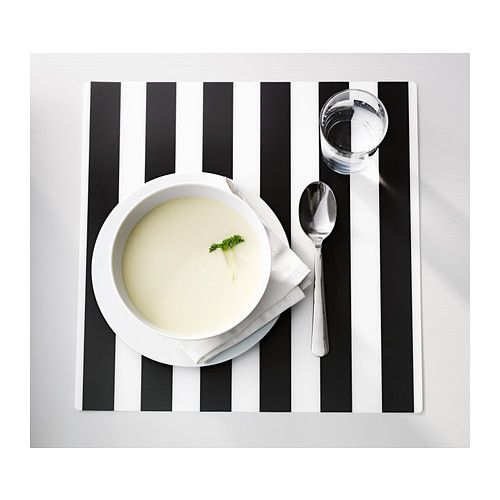
As far as our IKEA trip…score. Remembering I was starting with a modern wooden table and white dishes, I had my heart set on IKEA’s black and white LJUDA placemats. I tried some red ones too–also great–but the black and white just felt more surprising and fun for me. Plus, they wipe clean easily which is a mom-bonus.
 I found some simple red cotton table runners with a subtle cord texture for the table and a natural color for the bar I was setting up on a nearby hutch. The photos on the IKEA site don’t do them justice, by the way–I really like them in person.
Oversized gray cloth napkins we found look like linen, but lower maintenance. And I found some really cool mouth-blown white frosted tumblers that look like fancy ones I’ve seen in NYC boutiques. I knew they’d be great for water or cocktails, or even wine. I could also use them for votives. And only $1.99 each.
They’ve actually become our new glasses. And if you don’t want white, there are other colors.
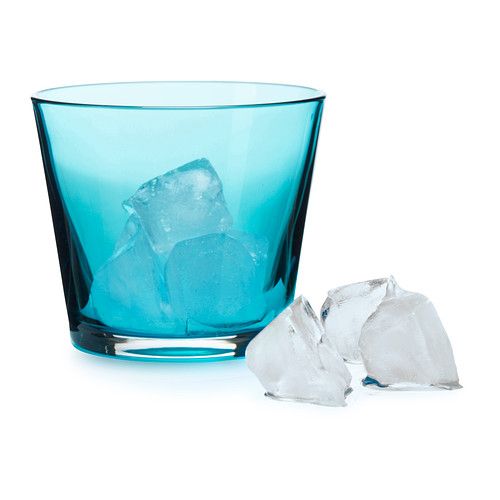
The gorgeous blue DIOD tumbler wasn’t right for my holiday table but darn, wish I had grabbed them. I may go back for them.
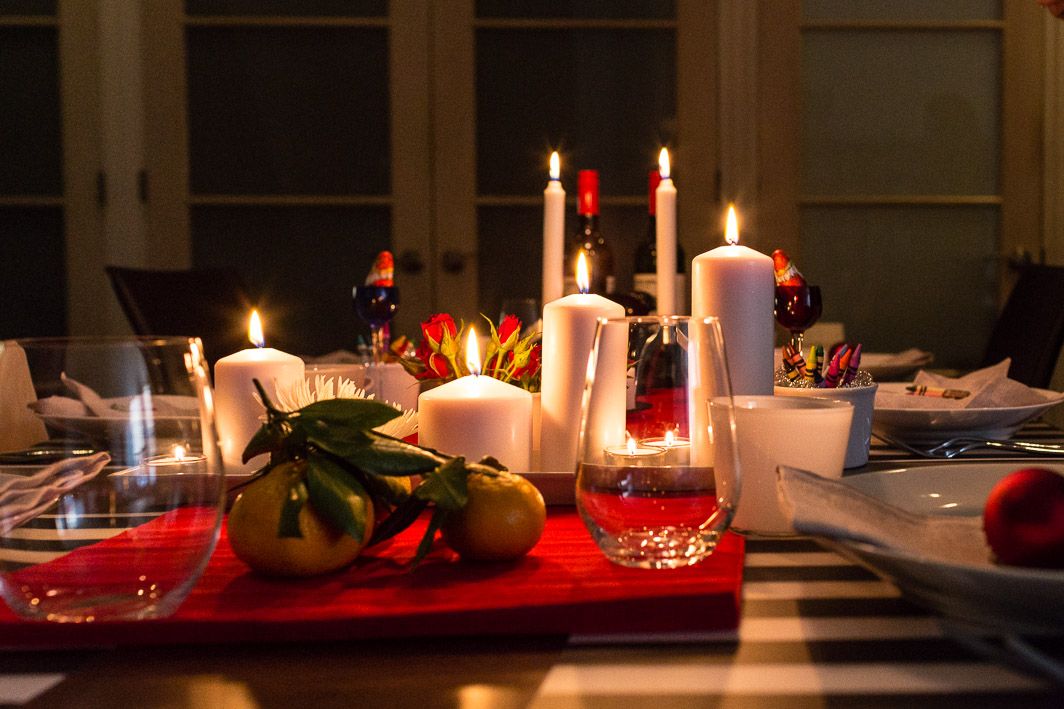
Then I gathered lots (and lots and lots) of white candles–tapers, tea lights, pillar candles. White so it wasn’t too theme-y.
Finally, I ravaged the holiday decoration section which features a ton of garlands, ornaments, gift wrap supplies, strings of Christmas lights and gift tags that I knew would be put to good use. The prices are so good, I can afford to experiment a little. It’s not like I can’t use gift tags–even if they don’t end up on the holiday table as place cards, which is what I had in mind.
A Few Affordable, Easy Place Setting Ideas for a Holiday Table
Turns out, experimenting was so fun and it helped me come up with some ideas I loved. Aaaand then some that were not really my style.
1. Felt bird ornament on a paper napkin
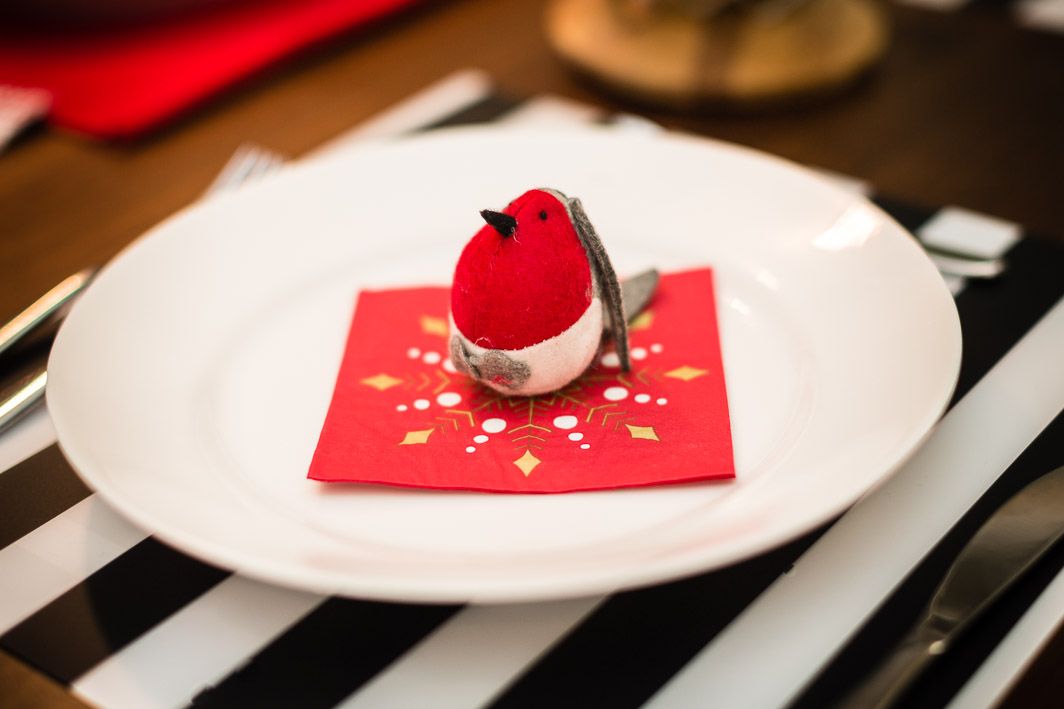
Yes, paper! I know that’s blasphemy in some circles, but I think they can look cool if you pick nice ones, and don’t set a formal holiday table.
2. Using hanging ornaments as napkin rings
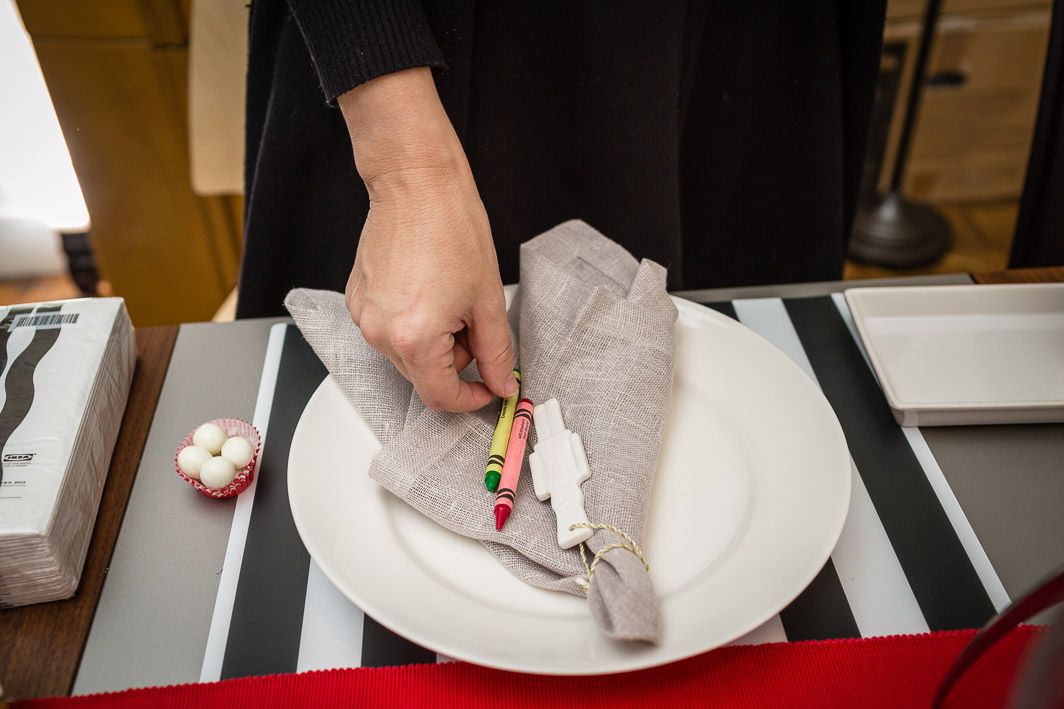
I spotted cute ceramic toy soldier ornaments in packs of three, that I thought might be fun somehow. Like to wrap around the napkins instead of napkin rings. The ornaments happened to be matte, so I thought hm, maybe we can draw on them? Then I thought, wait! I’ll let the kids decorate their own! Isn’t that charming? Winner.
For the kids I lay two crayons each on the napkin then stuffed a bunch more in some ramekins–thanks, every restaurant ever for that idea–and added a swath of the garland to hold them in there. I knew the kids would be psyched and it would keep them occupied if we started lapsing into too much grown-up speak.
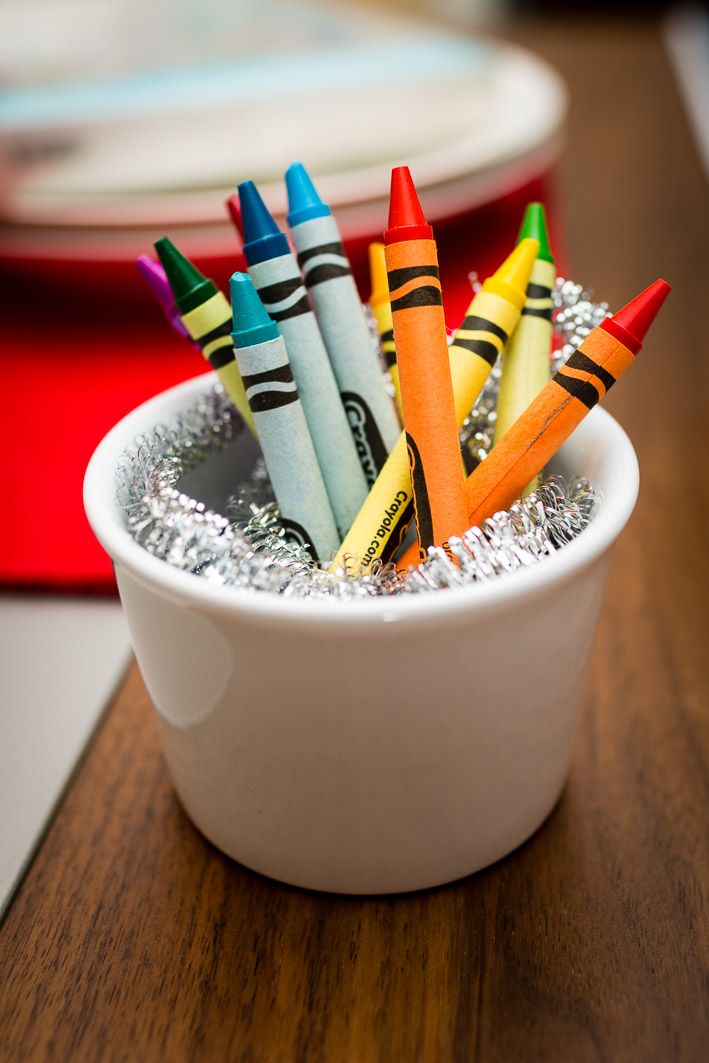
Consider making one for each kid so they’re not reaching across the table and fighting over crayons. Or is that just mine?
3. Candy dishes
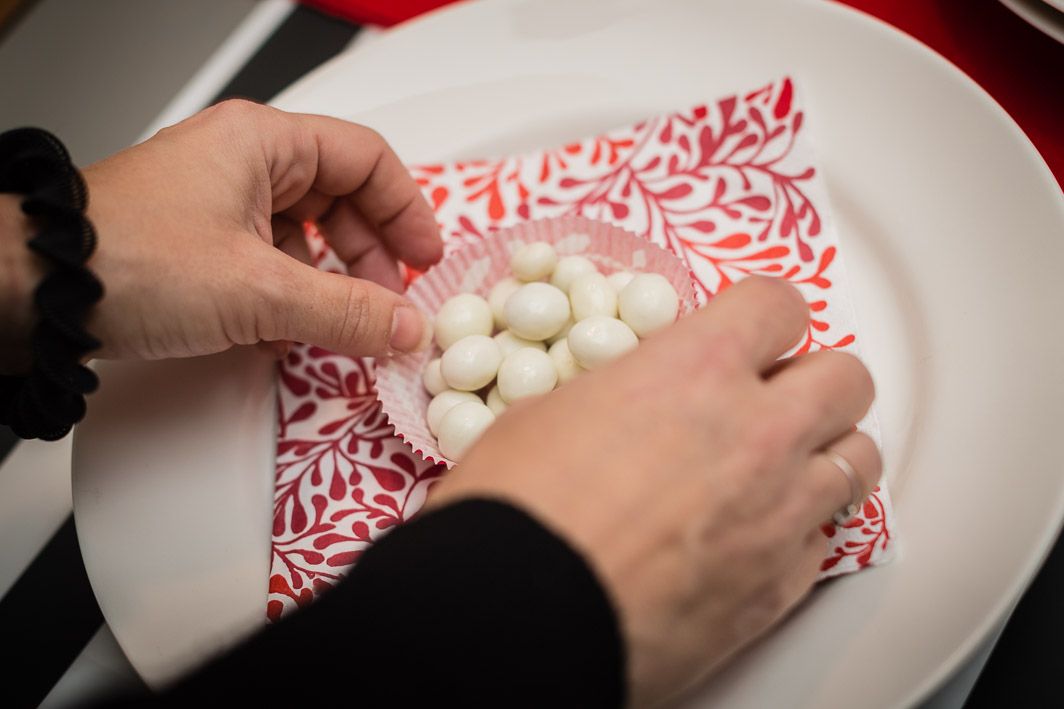
I imagined there would be something fun about little cupcake wrappers filled with a few shiny, yogurt-covered peanuts and raisins, with a place card popped into them. But…my imagination deceived me. All I could think of were my kids filling up on those before dinner. And weddings.
4. Sparkly pinecones
I have a bunch of pine cones that I put out each winter in this cool, hand-blown glass bowl I have. However I do not have spray paint in my house (much to Amye’s dismay), so we came up with the idea to take thin IKEA silver garlands and just wrap them through the pinecones. So easy, and no mess!
They truly make pinecones look more contemporary and less rustic. Then just pop in a gift tag for a place card.
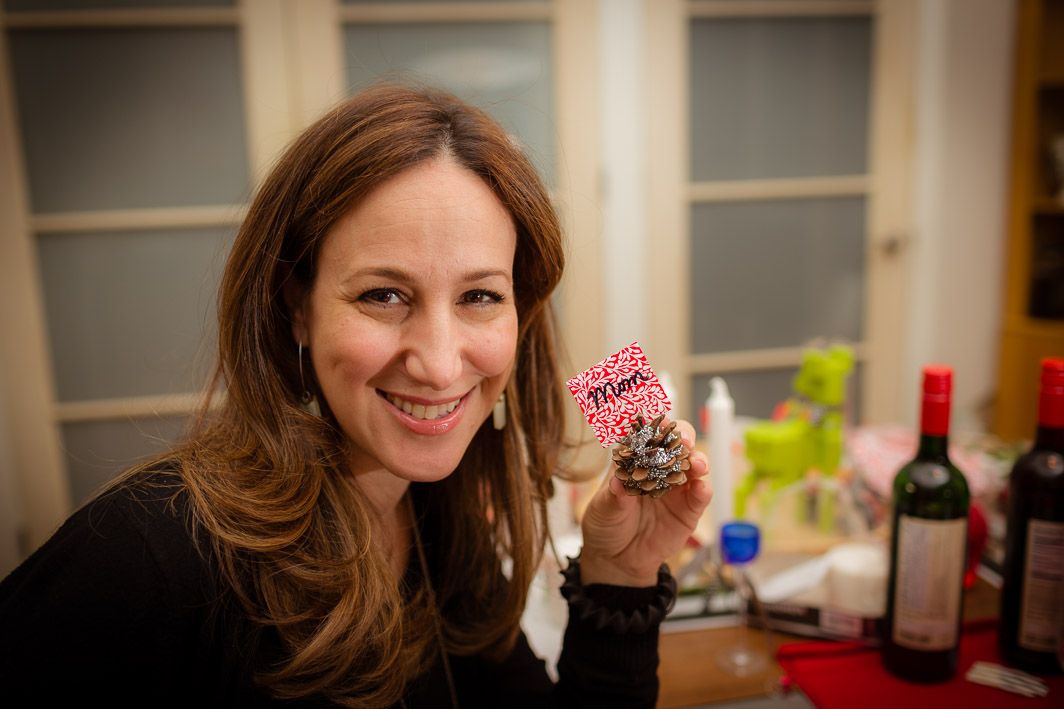
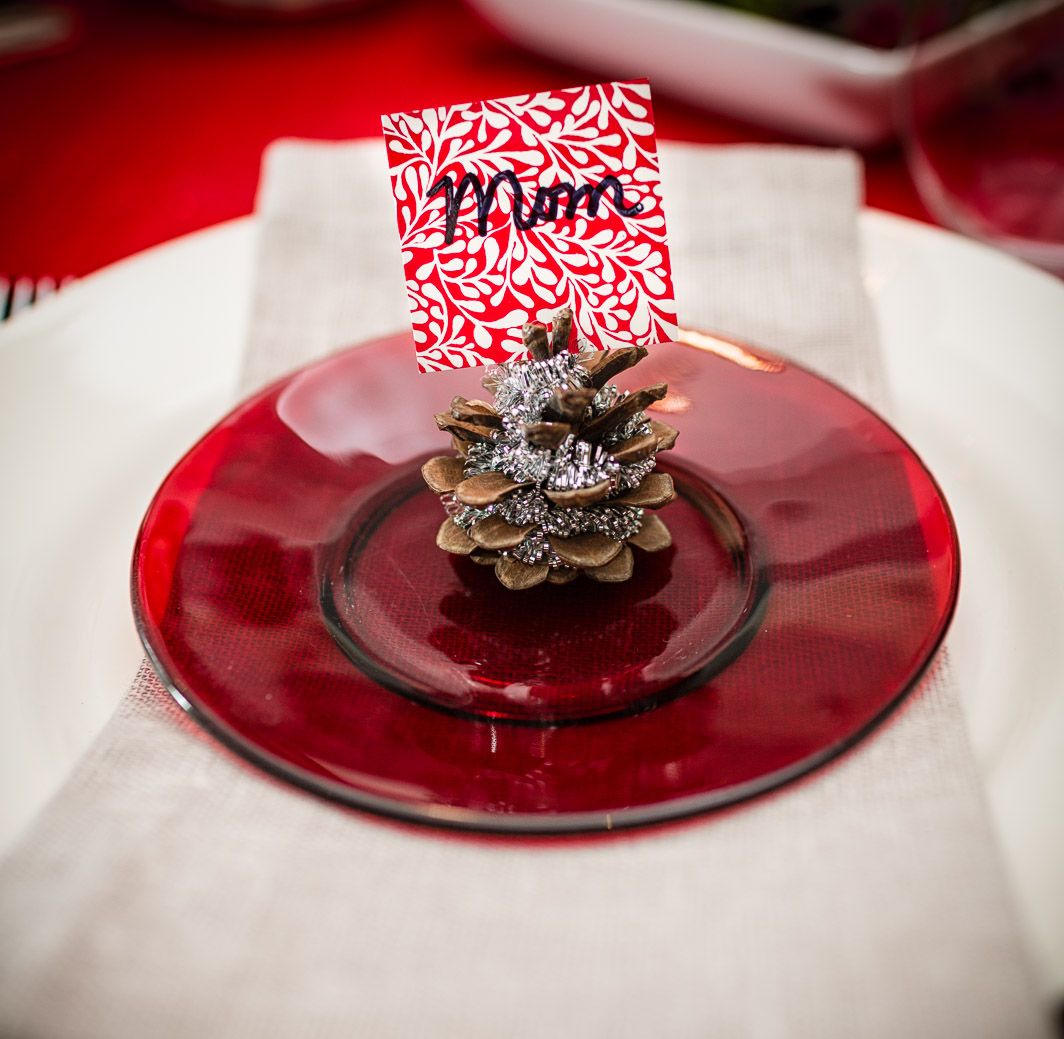
I set it on a vintage red glass dessert plate I have, over a gray cloth napkin I lay right under the plate. Just to see how that would look. A little more formal but still playful.
5. DIY Holly
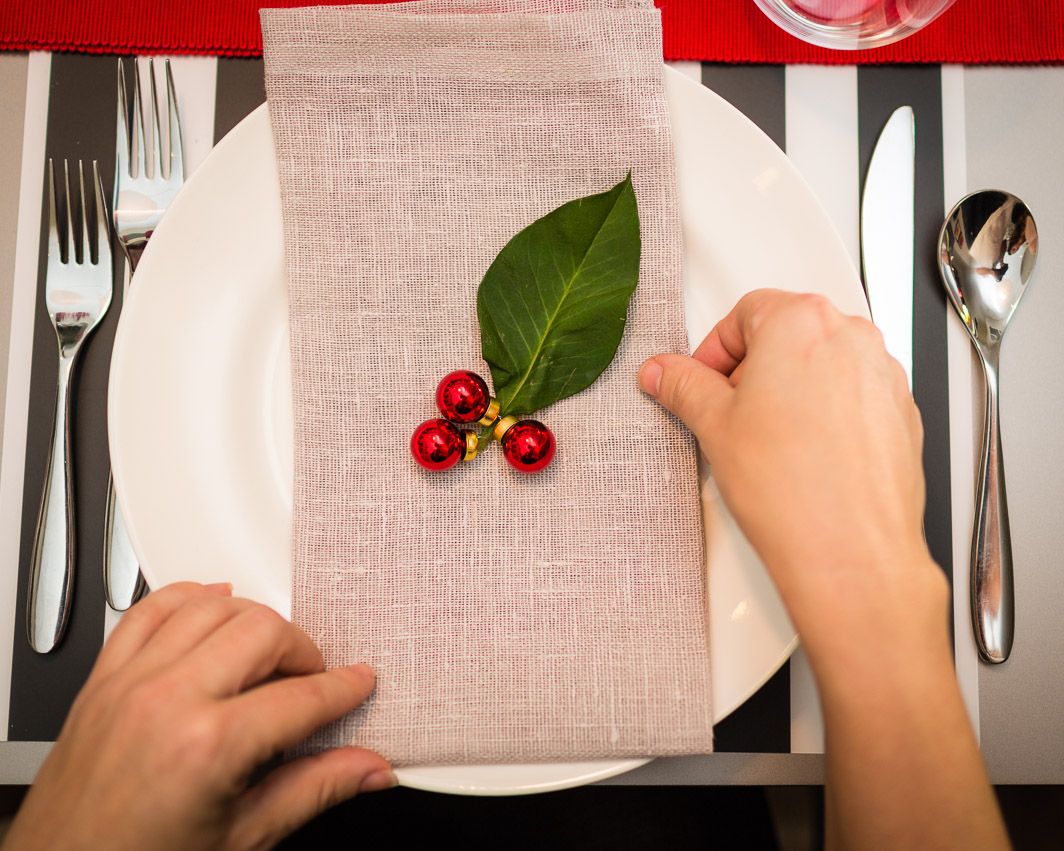
Turns out those gray napkins were a good call–and helped break up the black and white. I lay one over the plate, then I snipped off a large leaf from some greenery and just pulled three tiny red ornaments onto the ends to make a holly place setting. (I admit I was kind of impressed with myself with this one.)
6. Fresh greens or flowers
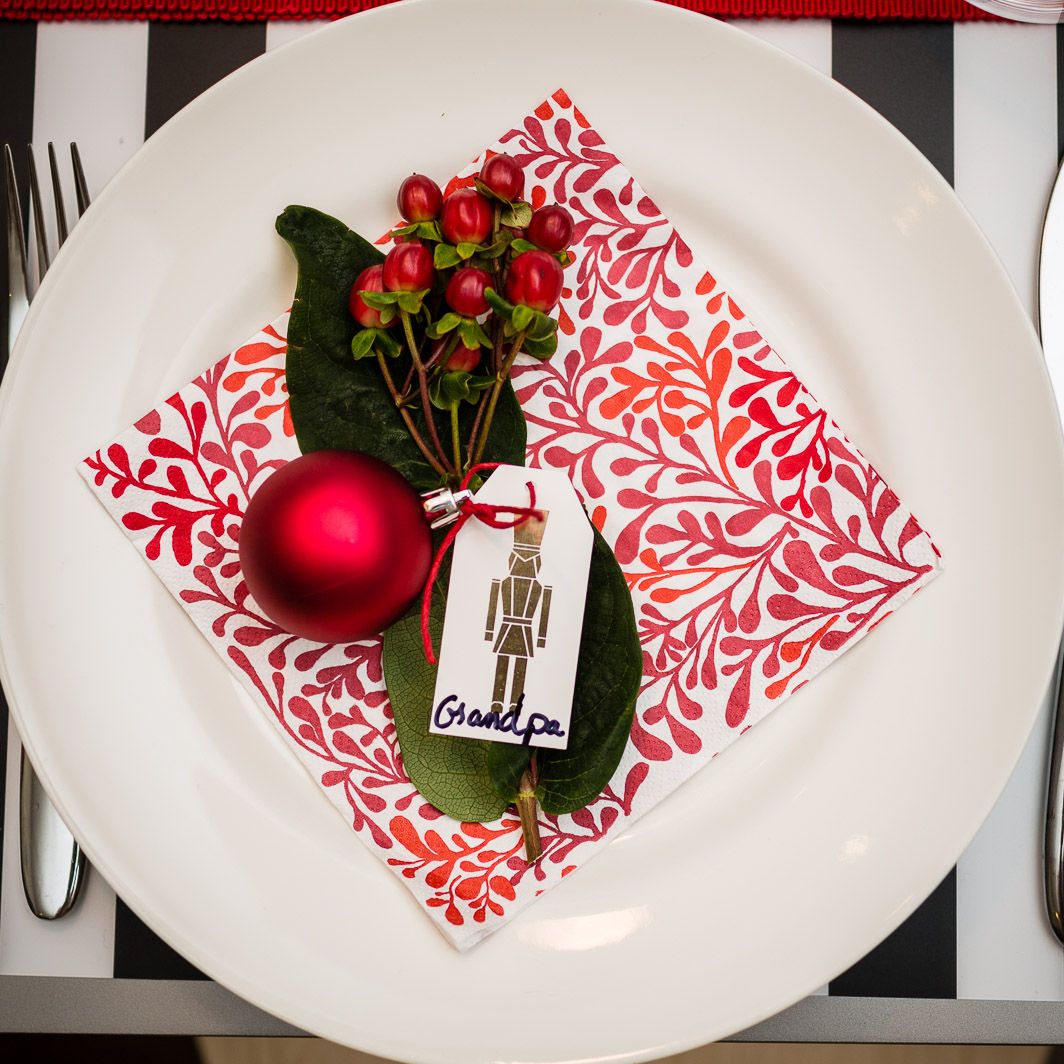
Also fairly easy, I chose a different paper cocktail napkin, then snipped a branch of berries so it was the right size and lay a large red ornament over top, tied to a cute gift tag as a place card.
This tableau was a little much for me–it might have been nice just to tie some twine around the greens with the card, and lose the ornament. Also, pine branches would have been great. D’oh. Next time.
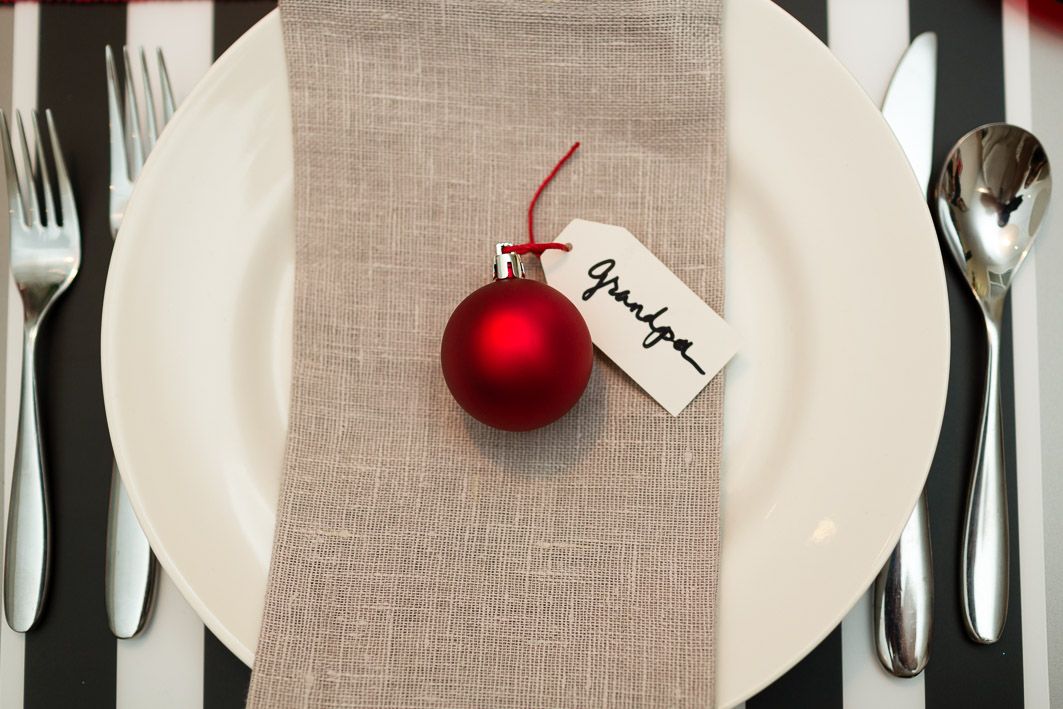
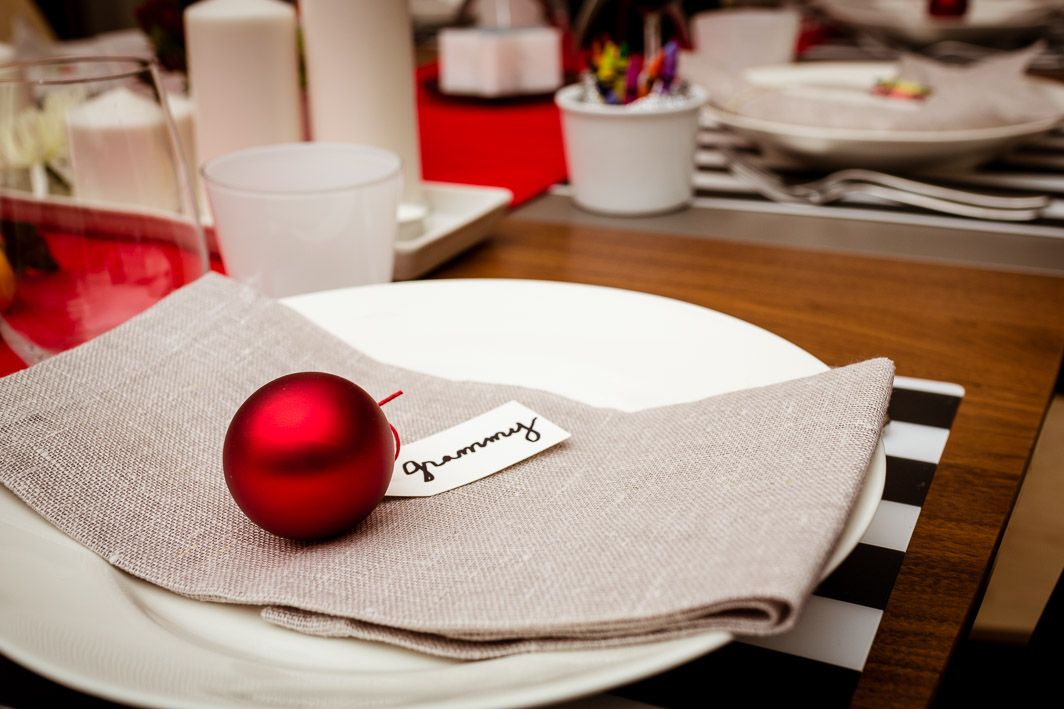
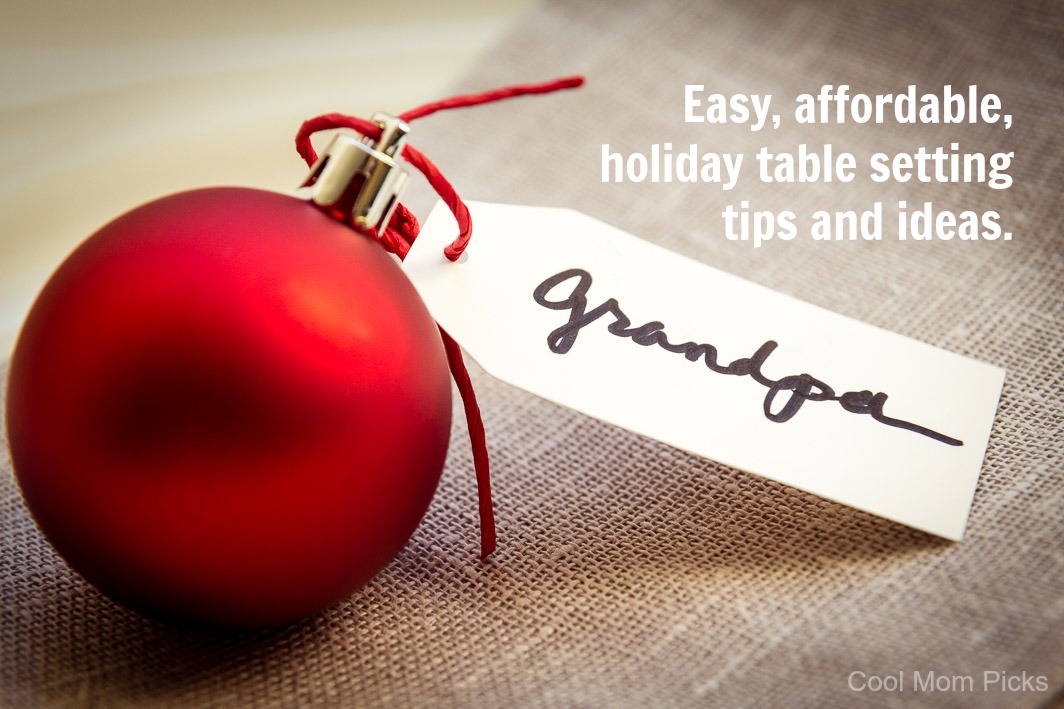
7. Simple ornaments with name tags
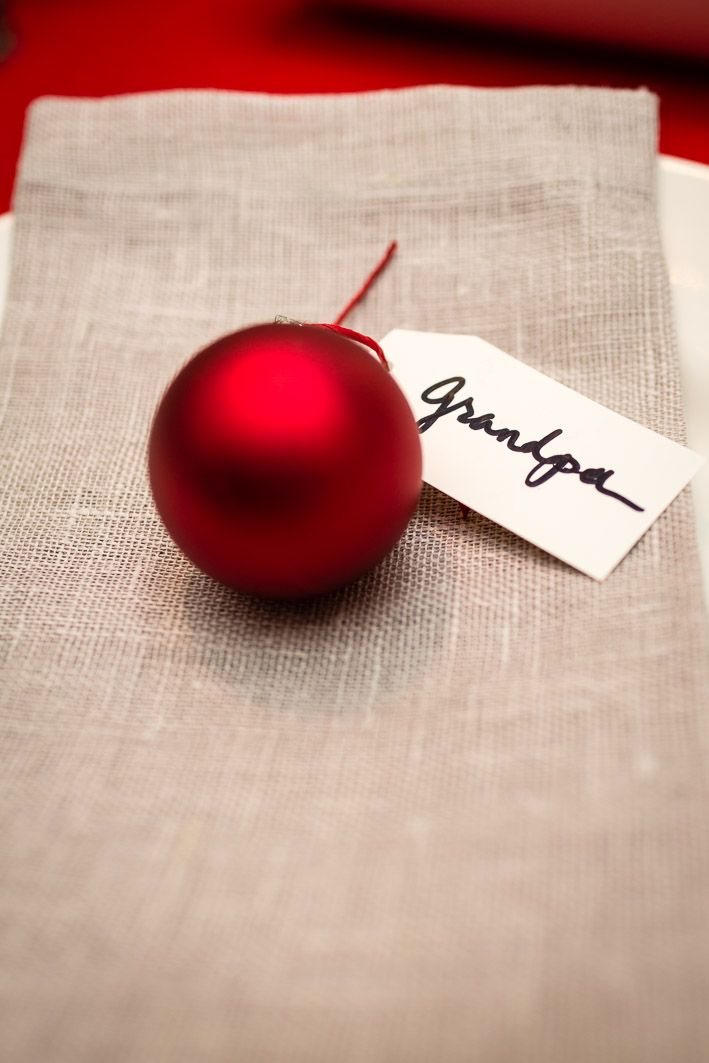
I got rid of the berries and stems and–I loved how it looked. There’s something elegant about the simplicity.
The finishing touches
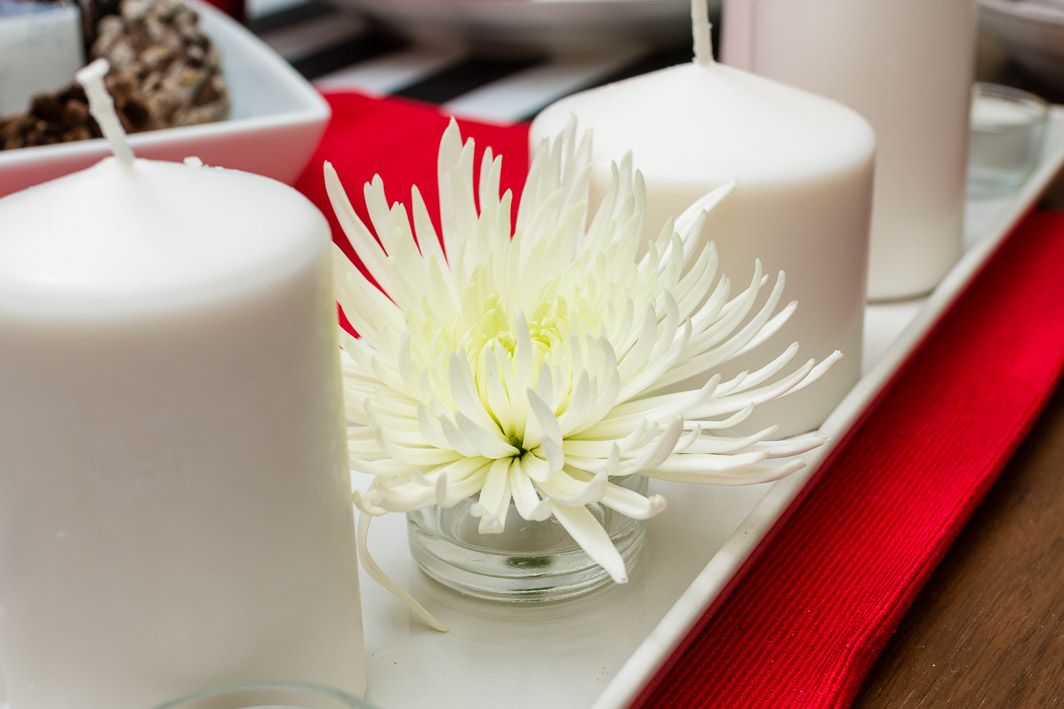
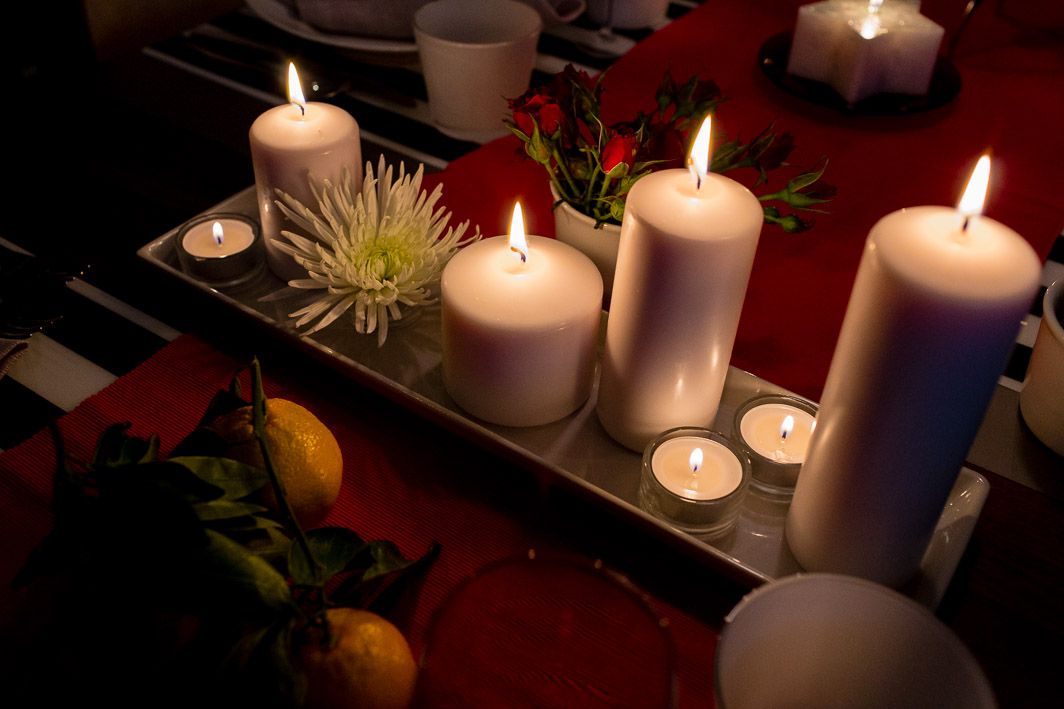
Finally, I mixed up some candles and white mums for a lush but monochromatic display. Instead of a bud vase, Amye suggested I try an extra votive, fill it with water, and cut the stem really short. It looked so great!
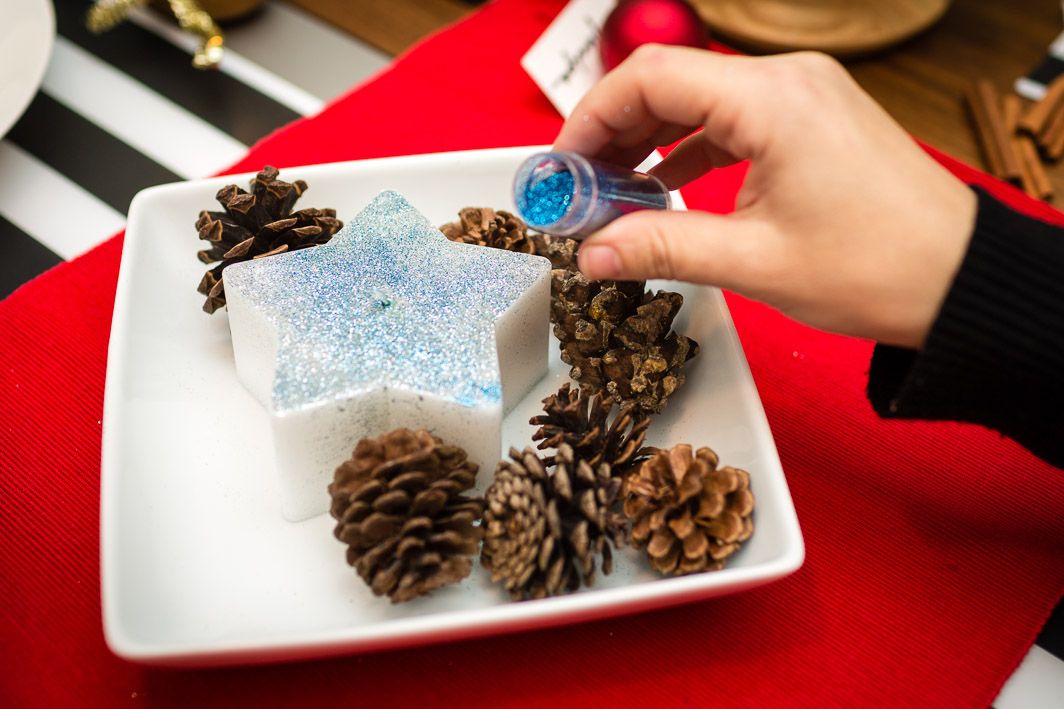
So I wouldn’t end up with so much white, we put a few more pine cones around this coolstar candle we found at IKEA, then sprinkled some really fine blue glitter over it. It actually looked great and not preschool craft-y at all.
Don’t worry, I lit it and tested it. Nothing burns or gets weird. The glitter just kind of pools up in the melted wax in the center. And my kids loved it.
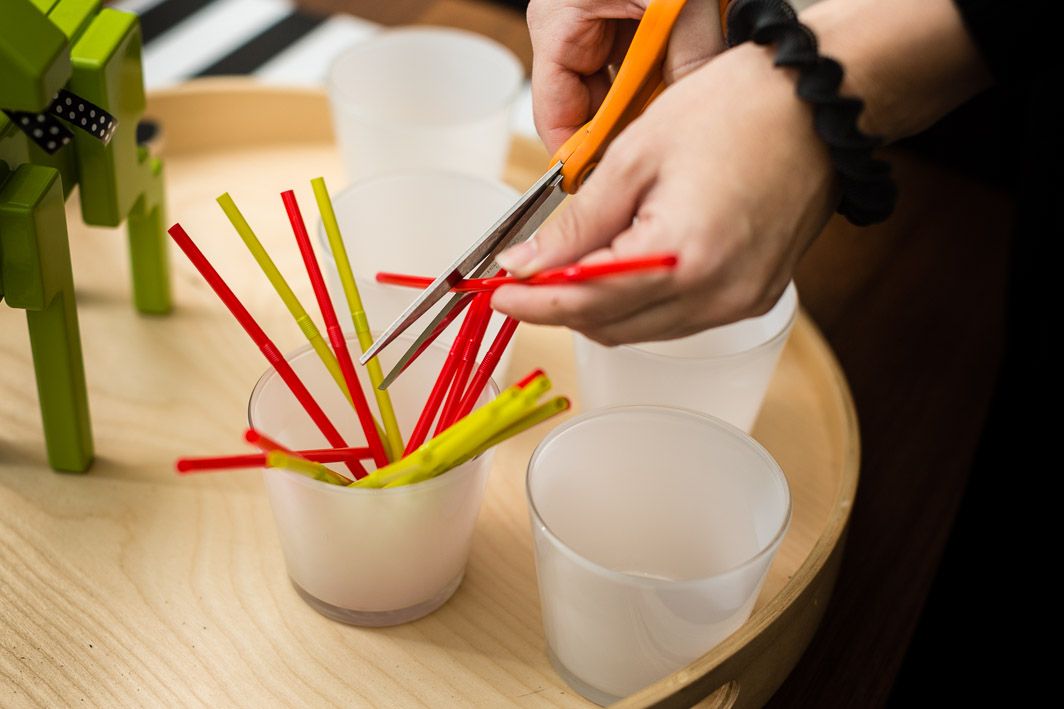
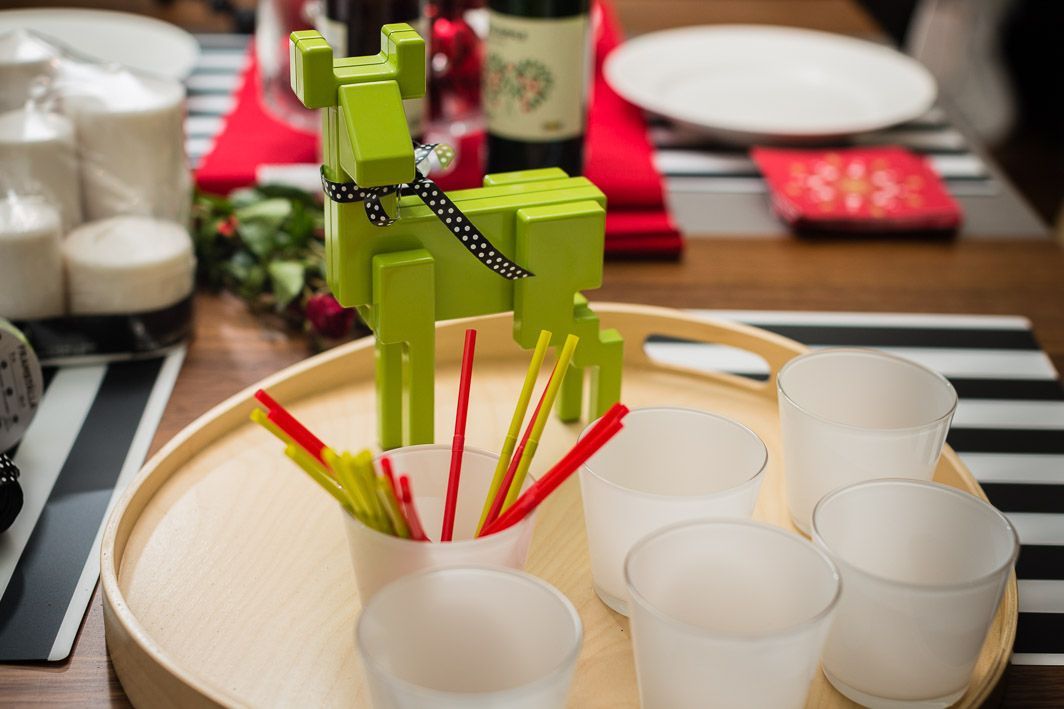
In addition to the crayon set-up, I wanted some things on the table that made my kids feel comfortable; while they are eating off of real plates and using real napkins, it can be easy to get so caught up in “the perfect table” that we forget about kids who get squirmy in too-adult settings.
I grabbed a pack of straws ($1.49 for 200!) and just grabbed the red and lime green ones. Then, great tip: cut the straws to the right size if you’re using a rocks glass. Why does everything just taste better with straws?
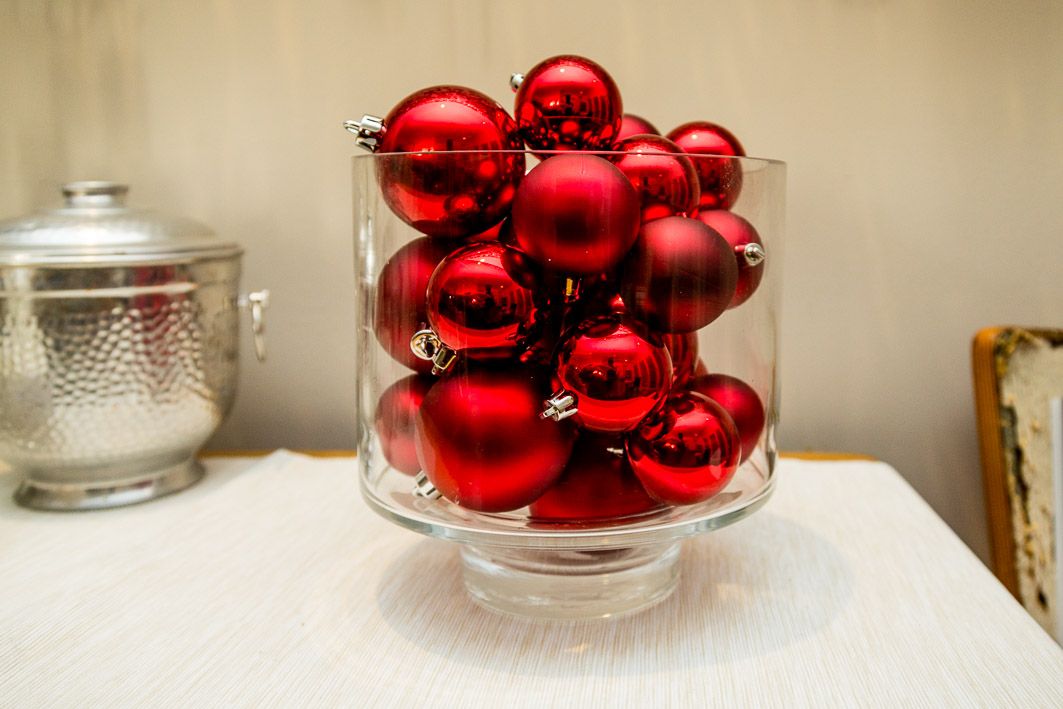
Inexpensive ornaments came in handy — and end up on your tree in subsequent years. Stock up. Plus, those ornaments are $9.99 for 50!
It all comes together
Thanks so much to our sponsor IKEA, who makes it so so easy to set a holiday table that looks really cool and effortless. Visit their site to browse, but visit a store near you which is where all the fun happens.
[photos: Jon Armstrong, © Cool Mom Picks all rights reserved]


Thanks, Liz. This entire post made me smile. Lots of great ideas. And what I really love about it, is that most of them are inexpensive. I also love that you included ideas for kids.
OK, this post made me feel so much better, because if Liz isn’t a design guru, well, then…I have heard that Ikea has great things for the holidays, and this shows that simple is key. I love it. Can you come over and do my table setting? See you in about four weeks. 🙂
You bring the Glogg, I’ll bring the IKEA catalog. Say the word, Pam!
Super, super-cute. Love it all.
I grew up with IKEA in the homeland Sweden. I get all warm and fuzzy seeing your holiday table, everything looks so nice and one of the things I love about IKEA, today as when I was young back in Stockholm, the prices are low. I feel I can afford almost everything at IKEA, at least in the textile and candle department. Thank you for a great post!