I was so proud of myself, the first time my daughter wanted to color her hair at home and asked for a pink stripe in her hair. I did all the research (what’s easiest, safest, least messy ) and finally settled on dyeing it with…Kool-Aid.
Good gravy, what a mistake!
It burned, believe it or not, and just as bad, it hardly left behind any color.
Then, I discovered one simple way to dye my kid’s hair at home, turning her into her version of a 21st century punk without the tears:
Dye the ends of the hair only.
Here’s why.
Before you can successfully dye your kid’s hair the exact color they want, you are likely to have to bleach it, unless your kid has light hair, or you’re willing to go with a more subtle version of that blue or pink. And bleach, as we all know, is highly potent and corrosive, and getting it anywhere near the scalp (let alone the eyes, eek) is nothing I’d encourage you to do with younger kids — no matter what you’ve seen in your kindergartener’s class.
This is all to say that bleach was always a non-starter for us, until I figured out that I could easily and painlessly dye the ends of her hair only.
Plus, if the hair dries out from those chemicals, just snip off the dead ends, and start anew.
But hey, you’re the parent and the decision is up to you.
So if you’re all in on the colored tips for your child’s hair, here are my tips (ha) for getting it done.
CMP is an rstyle affiliate
Related: The best drugstore makeup for tweens and teens.
An easy step-by-step guide to coloring your child’s hair at home
1. Choose a hair color brand.
Hair Color Option A:
After the Kool-Aid debacle, we settled on more traditional hair dye kits. I’d recommend starting with something like Splat Hair Color Complete Kit. I like this brand (despite their weirdly sexy color names like Lusty Purple and Pink Fetish) because they have tons of punky shades, and the box includes everything you need: bleach kit, hair dye, and gloves.
Although the gloves suck, so I buy a pair of good ones and reuse them.

Hair Color Option B:
Liz, whose daughter has gone with bright pink ends for the last few years, has been really happy with Special Effects Atomic Pink and highly recommends.
The results are very vibrant on her light brown hair, as you can see below… and this is entirely without bleach. It’s not quite as “atomic” as if the ends were bleached first, but it is a good alternative if you’re worried about bleach. And while the dye is called semi-permanent, there’s so much pigment in the color, it lasts a good several months — and even when it fades to a paler pink it looks pretty cool.
She also ended up with about a half a bottle left, meaning you get two whole color sessions out of one bottle. Or in her case, one session…and one for a BFF who wanted to go twinsies.
Pro tip: If you’re coloring your kid’s hair a bright color — as your own colorist may have warned you at some point (ahem) — be aware that pool chemicals will utterly destroy it. We never dye hair before vacation, or at the start of summer if we know we’ll be in and out of pools a lot.
Related: Unicorn hair! Unicorn hair!
2. Lay out all your materials…and prepare for Stain-o-geddon.
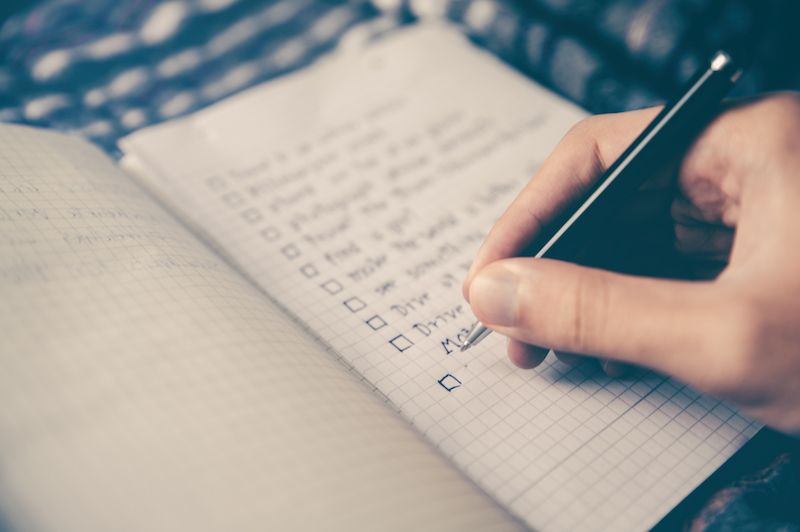
Things you are going to need to dip-dye the ends of your child’s hair:
-2 Ziploc bags
-2 rubber bands
–Magic Erasers (they’re the only thing I’ve found that can get rid of sink or tub stains)
-Hand soap
-Conditioning rinsse
-Old towel that you don’t mind getting bleach and color dye on.
-Cheap dark towel for the bathroom counter and floor
-Adult-sized old t-shirt
-Optional garbage bag
-Rubber gloves
-Hair dryer
-White vinegar
-Your hair dye kit (of course)
You may have noticed lots of cleaning stuff in this list, huh?
Heed my warnings: Nothing stains like bright hair color.
It somehow manages to be not permanent in hair, and yet super permanent on everything else. (Sorry, pillowcases!) So please take my advice and buy some cheap dark colored towels for the bathroom counter and floor, because the staining is real, folks. (You can also use those towels over your child’s pillow at night, especially in the early weeks.)
Also, I have my kid wear an old black t-shirt of mine while we’re coloring her hair, so she’s about as covered up as she can be and I don’t care if the shirt ends up with Aqua Rush color drips all over it.
Pro tip: Cut a slit at the bottom of a garbage bag and pop it over her head. Voila! A makeshift waterproof salon cape that also protects her clothes.
3. Bleach the ends of the hair only.
Be sure to put on those gloves before you mix up the bleach that comes with the hair dye kit, then apply it only to the lower half of her hair.
How high to go with the bleach is up to you; between 4–6 inches seems to be pretty manageable for my daughter’s long hair and still looks exciting. But some really like the subtlety of 1-2 inch tips and that’s cool too.
Related: A quick, natural skincare routine for tweens and teens from an expert
Next, (while wearing your gloves!) bundle up the bleached hair, stuff it in the Ziploc bag, and use the rubber band to cinch it all around.
The box will give you an idea of how long to leave in the bleach, but when it looks blondish (try to avoid Madonna Ice Blonde here), rinse it out and wash hair thoroughly.
Remember the gloves!
(Did I mention the gloves?)
Pro tip: I’d strongly suggest you wrap that old towel tightly around her shoulders and neck during this process to make extra sure that bleach doesn’t come in contact with your child’s skin. Especially if the hair isn’t quite as long as my own daughter’s.
4. Blow dry.
You want to get that hair nice and dry so it can take the pigment of the semi-permanent color.
Get it allll dry. Don’t cheat!
5. Dip dye the ends.

Awesome, right?
Now, you’re going to repeat the process but with your hair color instead of bleach.
Be sure to saturate every strand of hair; you’ll use far more dye than you’d think to get the color your kid wants.
Now repeat the whole Ziploc and rubber band thing. While the dyed hair is bundled up in there, your kid can basically go about her life at home for a few hours and totally forget her hair is turning bubblegum pink. Or purple!
Pro tip: I really suggest — and parents who have gone through this agree with me — to check the directions on the package, and then (since you are dyeing the ends of the hair only, and aren’t dyeing near the scalp) leave the color on for an extra hour if you want to go brighter. Because, for punk hair, the brighter the better, right?
I’ve left the dye in the ends of my daughter’s hair for up to 3 hours, and the result was stunning.
But hey, even when it fades that’s cool too. All you have to do now is just re-dye the bleached part, skipping all the previous steps. Use the same color or choose something totally new! Actually we keep a whole rainbow of N’Rage Semi-Permanent Hair colors on hand for touch-ups or because when you’re a tween, one day blue will be the new pink and orange will be the new blue.
Pro tip 2: Make sure you dye the hair up above the bleach line just a tiny bit. You don’t want to end up with a weird white line across the back of the hair where you missed the color! It will fade in with the natural hair above the bleach line pretty naturally and look great.
6. Rinse the hair and rock out!
When it’s time to rinse the hair, you want to do it so thoroughly that the water is running pretty clear. No shampoo!
Afterward, do a quick douse of the colored ends of the hair in white vinegar, and rinse with water. As with Easter eggs, the vinegar helps the hair color adhere to the hair shaft better.
Finally, condition (yes, you can use conditioner — one for color-treated hair might be a worthwhile investment), rinse, and dry.
Easy!
Pro tip: Of course colors will continue to run, even after repeated shampoo and drying, so don’t shampoo hair with every shower; then give it a few weeks of washing before letting your kid sleep on hotel whites or wear an expensive white graduation dress. (Editor’s Note: Been there. Sigh. -Liz)
Also keep in mind the dye will leach into bathwater so stick with showers for a while.
Pro tip 2: If you want to hurry up this process, or go a little lower-maintenance with the upkeep, you can opt to keep shampoo off the ends of the hair for a couple of weeks and keep hair super vibrant. Then, when it is time to shampoo the colored ends, wash a whole bunch of times (the sink is a good bet) until the water runs pretty clear.
You’ll fade the vibrancy for sure — though a good quality dye should still leave plenty of color — but you also won’t have to deal with destroying the linens at summer camp or Grandma’s house.
But no matter which route you go, stick with the dark towels! This is a must.
Shopping List image: Glenn Carsten-Peters for Unsplash.



I can attest to the Special Effects Atomic Pink – I’ve been using it since high school (*gasp* 20-ish years ago) and it has always been my favorite – color and brand. The pink stays FOREVER (even having it professionally colored over doesn’t always work, so be sure you absolutely want it) and the dye smells good and eventually does wash off of whatever you accidentally spill it on (hard non-porous surfaces only!!) However it will also rub off on pillowcases and if your hair gets wet it could stain clothes when freshly dyed. But Special Effects is bar-none the best hair dye I’ve tried, as far as quality goes and brightness of color, as well as how long it lasts. <3
You’re amazing!!
I’ve done some highlights on my daughter’s hair (using a brush, far from scalp.. like balayage) but have been begged for colour.
I greatly appreciate these tips (pun noted!) As this is exactly perfectly what I was needing!!
Thanks very much. We both thank you. Turquoise tips, here we come!!
I have found that Herbal Essence shampoo removes the unwanted color from my tub & sink (from my own professionally dyed hair). I also use ow of those “old lady” sleeping caps after getting my hair colored, it cuts down on the pillowcase stains as well as the skin coloring if you get sweaty while sleeping.