During the Covid pandemic, we’ve seen people do some wild things to get their nails done. There have been the women doing manicures through the mail slots in their front doors. There’s the mobile manicure truck that’s cruising around New York. And, as the ads all over social media have let me know…there seem to be plenty of at-home gel manicure kits.
Even while some salons are opening up in some states, not everyone feels comfortable getting a one-on-one service like a manicure — including me — so yes, I succumbed to the temptation and typed in my credit card number. (Let’s just say my live-in 12-year-old manicurist just wasn’t quite meeting my professional expectations.)
if you’re thinking about purchasing an Ohora gel manicure kit, or a similar at-home option, here’s how it went.
Other reviews in our “damn you social media ads” series, in which we buy and try the products
showing up in all of our social feeds:
The Earthling Co.’s bar shampoo
Hairstory New Wash shampoo
The Ordinary skincare and makeup
Etee reusable food wraps
Glossier Balm Dot Com Universal Skin Salve
Inkbox semi-permanent tattoos
Function of Beauty custom shampoo
FLEX disposable tampon alternative
Thrive Causemetics Infinity Waterproof Eyebrow Liner
True & Co. Second Skin bra
Bombas socks

This post contains affiliate links that helps support our team at no additional cost to you. However we paid for the products ourselves, and our reviews are always our team’s 100% honest opinions
Which at-home gel manicure did I use?
I’m not a frequent salon patron, but I do love a gel manicure because it actually stays on — unlikes regular nail polish, which I tend to ruin before I even make it back to the car.
So the social media ad that sucked me in was for Ohora nails (available through their website or the Ohora nails shop on Amazon), mainly because they offer the Ohora UV lamp for gel manicures as part of your first order, and often do deals like 3 sets for the price of 1. It’s pretty affordable overall.
I clicked through an Instagram ad , chose a set of nail colors, and checked out.
To be honest, I expected I’d be waiting months for my purchase to arrive. Because, Instagram ads, right? (Why do I keep buying through them?) But within a week or s,o I had a package on my porch right from South Korea. It came so quickly, that I first thought it was something related to my daughter’s adoption agency in Seoul. But, surprise, it was my gel manicure kit!
What styles do they offer?

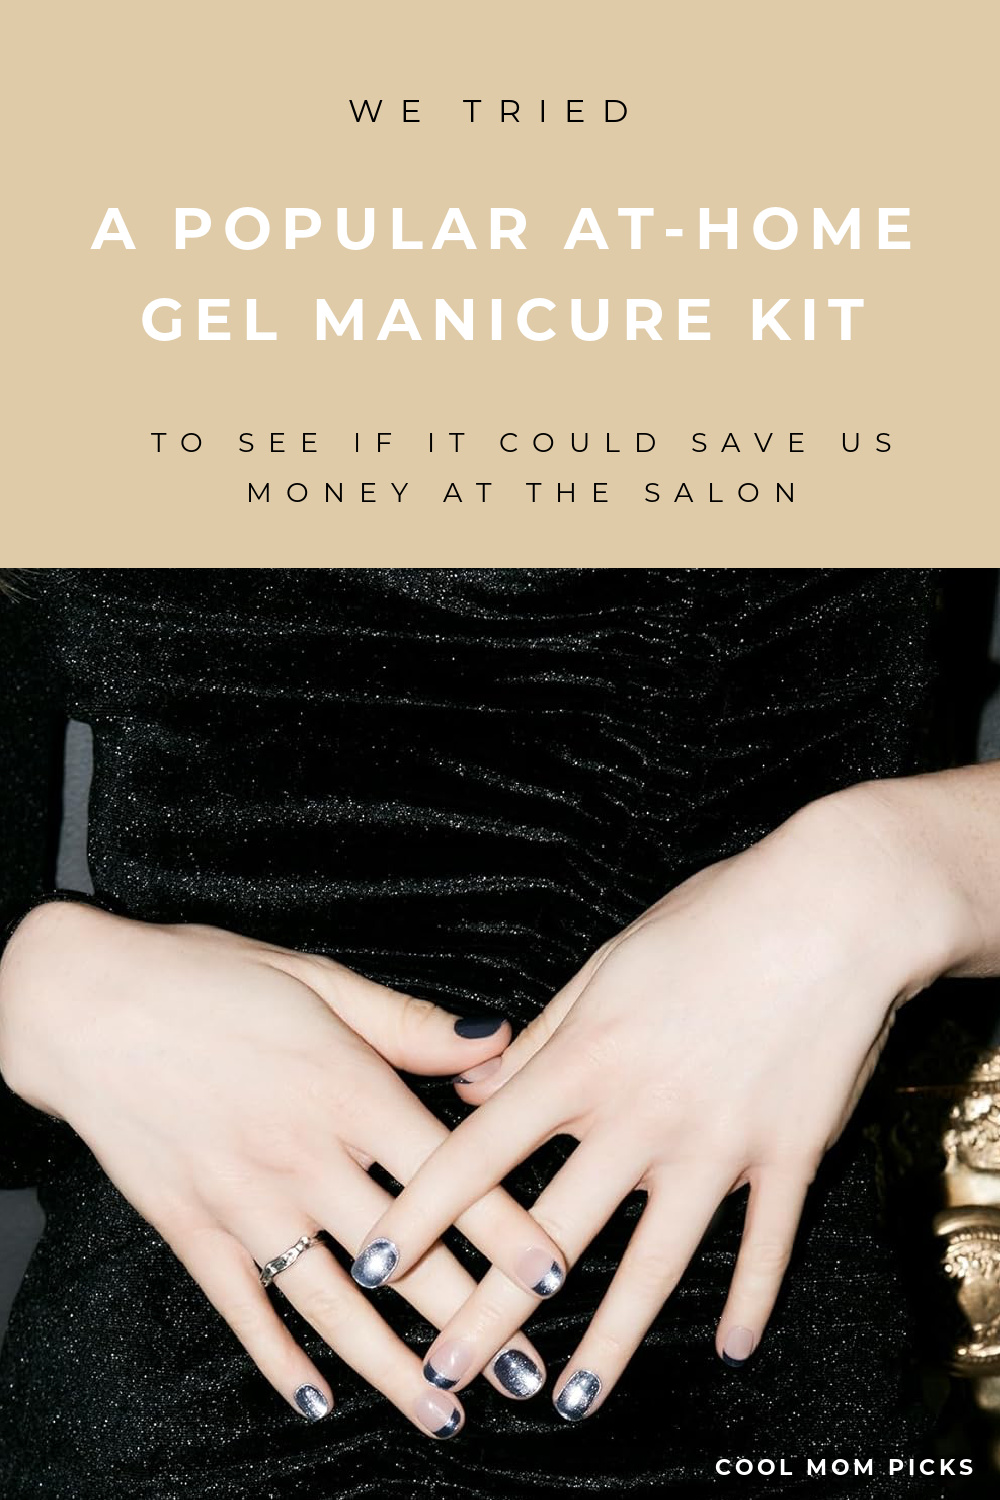
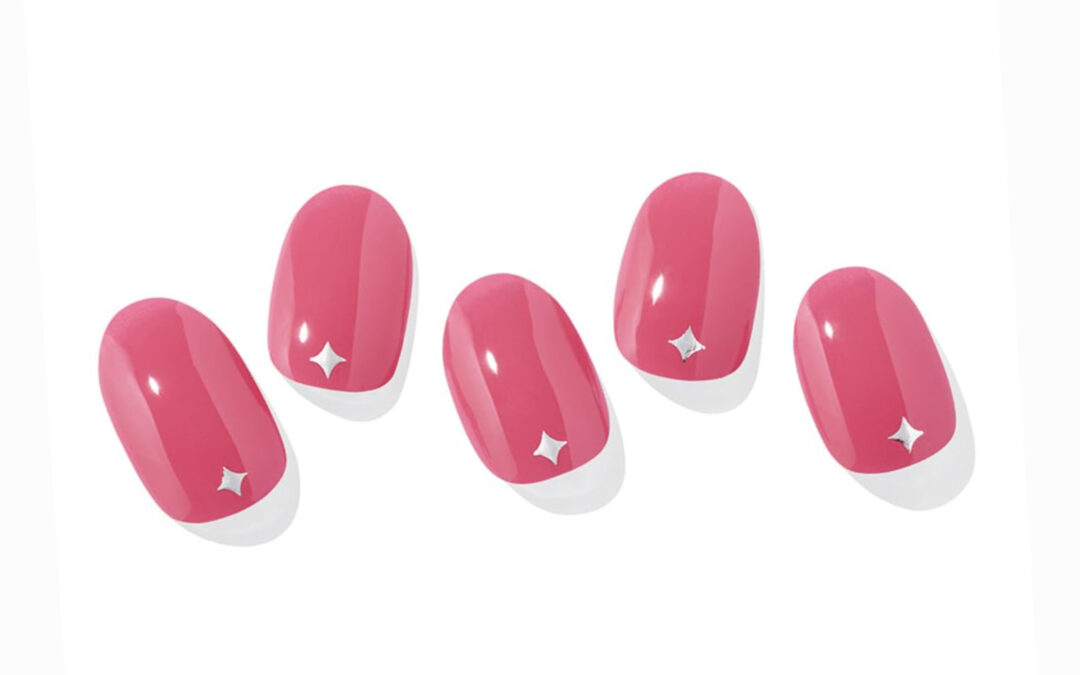
Before I talk about how they work, I want to point out that Ohora’s angle is all about the bling. They have shimmery gel nails. chic metallic gel nails (shown at very top), gel nails with seasonal designs and colors (we love our Valentine’s Day manicures!), coordinated mix-and match sets (like shown here), jewel-encrusted nail designs…There’s a lot going on here — and I admittedly am someone who prefers my nails clean, short and simple.
Typically, every nail in the set is a little different from a design standpoint, which is perfect for people who like to keep up with nail trends. They do offer a few options that are give you classic single-color manicures, though my tip is that they’re easier to sort on Amazon, or on the Ohora website if you’re on a laptop — the mobile site is tough to navigate and there aren’t a lot of category sort options for styles. .
Eventually I found a fun set that was primarily navy blue, with one accent nail in a shimmery gold. Why the heck not, right? You can find that box in this fun 3-kit gift set.
What comes in an at-home gel manicure set?
The Ohura set arrived with my UV light, which is about the size of a computer mouse, with little fold-out legs so it stores compactly. It’s somewhat flimsy, but it does the job.
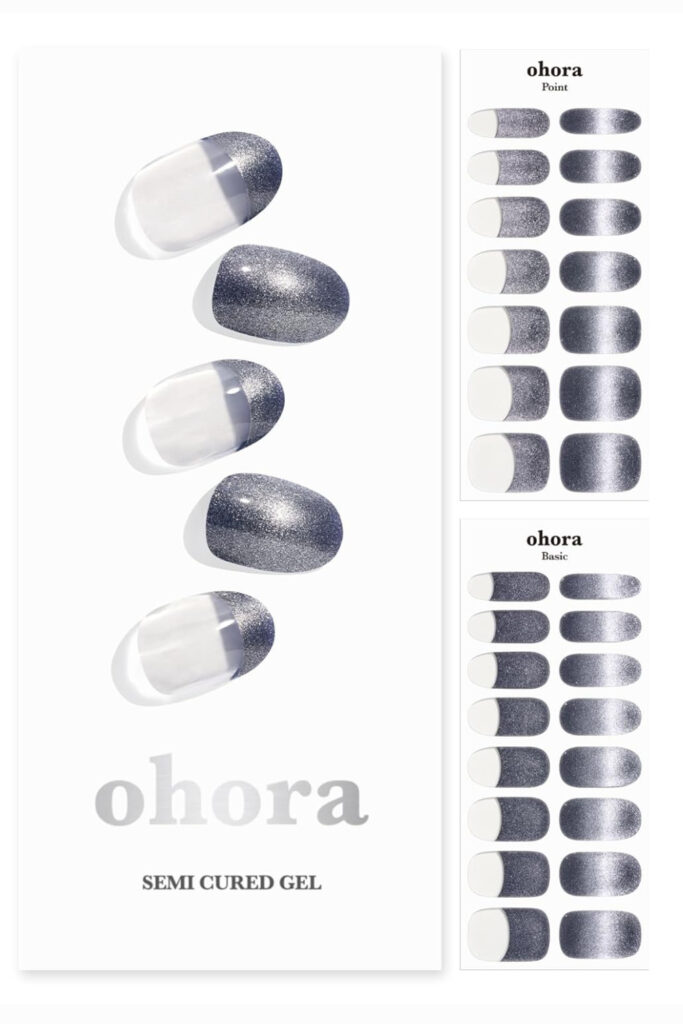
I also received two alcohol prep pads for wiping down your nails before you apply the color, a tiny nail file and wooden “orange stick,” plus two sheets of “pre-cured gel manicure” stickers, as you can see in the photo above.
Actually, stickers isn’t really the right word for them. They’re pre-cured strips of gel nail polish that are bendy and flexible. You can stretch them to fit your nail if you need to. To me, they feel the way my salon gel-manicure feels when it peels off…but maybe a bit stretchier.
Now, you can also order a separate portable UV light gel nail curing machine, which is pretty cool if you want to travel with it.
How do you put on your own gel manicure?
– Start with the nail primer; it’s optional but recommended.
– Each pre-cured nail strip comes on a transparent sheet, so you can hold it up over your nail and choose the right size before applying.
– Err on the narrower side and stretch it to fit. If you select a piece that’s too wide, it won’t adhere correctly to your nail around the cuticle.
– Peel off the gel decal and stick it to your fingernail. (They’ve made some great improvements since I first tried them, and this part is much easier than it used to be!)
– Press firmly onto your nail all around the edges, then trim it with nail clippers.
– File the edge, then cure it with the UV lamp up to three times. Be sure you press all the edges thoroughl yand firmly first! I had missed one before I cured it in the lamp, and it kind of drove me crazy.
– Finally, apply a glossy top coat to protect the finish.
How well does an at-home gel manicure come out? How does it look on non-hand-model hands? And does it last?
 Ta-da! I did it all by myself!
I was actually really pleased with my finished look! What do you think?
It could definitely pass for a salon manicure — minus the professional cuticle prep, lotions, and delightful hand massage.
After my DIY manicure, I went swimming with the kids on two different occasions that week. During the second pool trip, around day 4 or 5 after of my manicure, I started to see a slight bit of peeling at the edge. It wasn’t visible to me, but I noticed that if I ran my hands through my hair, it would catch.
Because I’m a fussy person who can’t leave well enough alone, I removed the gel color at that point. But in fairness, I imagine it would have lasted longer if I hadn’t picked at it. So…don’t pick at it.
How do you remove gel polish?
The biggest headache about a salon gel manicure is having to return to the salon and pay again to have it taken off. In fact, I usually peel mine off at home but that’s terrible for your nails. You’re supposed to wrap each nail in a polish remover-soaked pad, then wrap each individual finger in foil for a good 15-20 minutes before scraping it off. It’s an ordeal. That’s why I loved how this DIY gel manicure basically just pops right off, like one solid, hard piece of plastic.
Think: Lee Press-On Nails. (Remember those?)
Now the recommended method is to use the narrow orange stick to gently pry the color free from your nail and now, you can use their Ohora Easy Peel Remover so it doesn’t weaken your nails. However at the time, I just used my own fingernails to peel it off and it worked fine (though serious nail art experts will yell at me for that).
My teen daughter did complain that it hurt her to remove the color. So I’d say you do have to be gentle since the single solid piece of nail gel is not flexible.
Some weird things I noticed about my home gel manicure.
I didn’t realize that the finish on some of my gel pieces was a combination of matte and glossy because it wasn’t labeled — look closely at the photo above, and you’ll see that my pinky finger has a different finish from the others which I thought was a mistake. Now, I understand it’s a style, and today (2024) each gel is clearly marked matte or glossy, so another improvement from Ohora.
The second odd thing I noticed is that every pre-cured gel piece is a slightly different size. Obviously, I expected some to be thumb-sized and others to be pinkie-sized, but it didn’t appear that there were any two that were exactly the same. This means it’s a bit of a guessing game when it comes to your middle fingers, but not a deal-breaker.
Is an at-home gel manicure kit worth a try?
 Not me. Clearly. Look how perfect her nails are!
Bottom line: The Ohora kit is easy to use, yields nice-looking results, and is very affordable.
Starting at around $13.50 for one kit (a little more for sparkles and gems) you’ll get enough supplies for three complete manicures, if you get the sizes to fit correctly — it’s significantly more affordable than a salon gel manicure. The 30 individual pre-cured nails means you’re paying $5 or less per manicure for a basic set. That’s a fantastic price!
However, it does only includes 2 prep pads, and you will have to carefully make sense of the different designs and sizes if you want to squeeze three full manis out of the kit.
Ultimately, I will order again. Even if it’s just for a fun “spay day” at home with my daughter, and I end up removing the gel after a few days. The experience of hanging out together and putting them on was fun enough to make it completely worth it for me.
For our “damn you, social media ads” series, we purchase all products ourselves and give everything a thorough try, to give you our best, honest review. If your results differ, we’d love to hear about it.


Hi saw your review… was actually wondering about the shipping and possible taxes that the website mentions.
You’ll have to check the site for the details; or “add to cart” and you should see that info pop up in shipping info.
Hi! I found your review through Google. I’ve went mad from seeing these nails ad on ALL of my social media sites ALL the time. I love the comprehensive review and it really help solve the question, are these nails ads even as good as they look to be. Good read!
Xoxo
Yes to what Liz said, but my personal experience was that shipping was much faster than I expected and I don’t remember taxes being all that high. It felt like a normal purchase to me, and considering the cost of an in-person manicure this was much less expensive.
I tried them last night and was pleasantly surprised by how easy they were to work with. I also just scoured my kitchen with them tonight and they haven’t worn at all. My only advice is to make sure you press down very firmly where they are applied at the base of your nail as otherwise it seems like it’s slightly too high, Will definitely be getting more.
Thanks for the feedback Brenda, that’s so helpful!
I live in Canada so between converting from American to Canadian funds, adding the $15.00 shipping fee AND then being charged an extra $25.06 custom tax this product cost me a pretty penny. Not worth the price.
Oof, that’s good to know for our Canadian readers. Thanks!
I am so glad I found your review I have been questioning whether or not to try these and now I am excited to. Thank you for your honest review.
It seems that Ohora always says that the items are sold out, but Vanity table shows that they are the licensed distributor. Did you also go through vanity table or Ohora website. Just wondering… scams and all.
I bought directly from Ohora for this review, but later bought from Vanity Table. It all appeared the same, but I had better results with the manicure kit I bought directly from Ohora.
I purchased from Vanity Table. I purchased the essentials kit with cuticle remover l, etc., read all the tips on their website and applied them carefully, I used their top coat. They didn’t last the work day sitting at a computer the entire time (not exactly hard on nails).
Hi! I just applied my first set of gels and then was wondering about them in water. So poking around, I found your review. Thanks! It’s helpful for my question. I wanted to mention that I also purchased the top coat which is terrifically shiny when cured with the lamp. That would certainly take care of any matte vs shiny for you in the future if you wanted to invest in a bottle. Thanks again!
To remove them you are supposed to soak the end of the orange stick in the special remover (that you bought from them) and let it run under the nail (I do this to all my nails first), and then gently work the stick under the nails and pop off.
Removal doesn’t hurt that way and it doesn’t damage your nail.
At first I was in love with this product. So easy, so cost effective, and the gel seems thick and durable. However, I must have some funky natural oil in my nails, because my first set literally fell off within 1-2 days. I thought it was user error so I tried another set and really took my time to follow the directions to the letter, used the little alcohol pad that came with it, and used their gel coat afterward. Cured them more than once…another tip I learned. Still no luck. One popped off after a day. I thought maybe my sets got cooked in the heat while shipping, but my friends and I order together to split the shipping costs. They aren’t having the issue. I’m currently wearing the second set and I’m on the 3 day, but I can tell they won’t be staying on. Can certain lotions (sun or regular) cause them to fall off? I submitted a message to the Ohana customer support yesterday. Waiting on their response.